Sign up TODAY for Card Making News! Learn More >
Card Making Backgrounds
The background is an essential element of your card. It provides the means of pulling your card together
Card making backgrounds need to add that extra “something” without dominating the central focus or accent of your card.
Consider the different colours, textures, card and paper you can use to add interest and dimension.
Ask yourself if your background:
- Complements your card design
- Matches your main image(s) and
- Improves your card
A clean and simple card might look best with a plain uncluttered white background. While a beach scene might look great with ink blending different blues to represent the sky and sea.
There are so many options to choose from!
Here are some techniques for you to use on your own handmade cards……
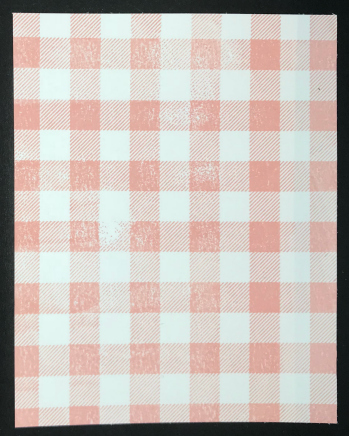
Background Stamps
There is a large choice of background stamps available from scripted writing to wood and marble effects.
These are handy for making multiple cards as they can be produced quickly. Especially if you use a stamp positioning tool such as the Stamparatus or Misti.

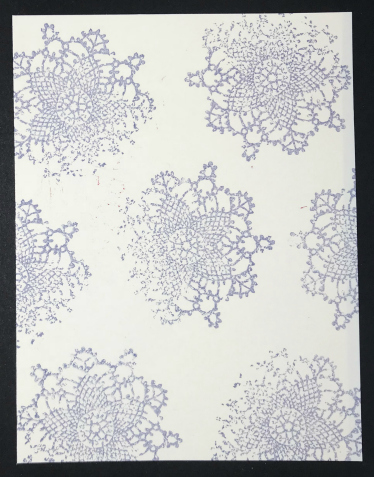
Stamped Images
A repeating pattern of stamped images makes a quick background.

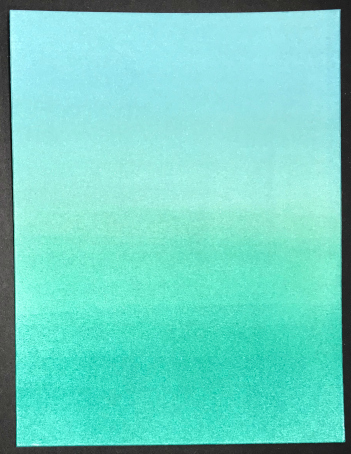
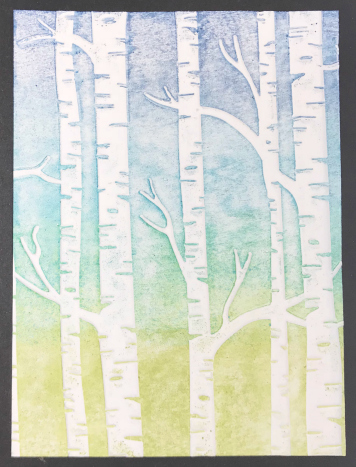
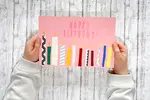
Ink Blending
Ink blending is a great way to create a graduated effect.
This example uses 3 complementary colours and was blended using a brayer. You could also use a sponge or blending tool for a similar result.
The colours are overlapped to help them blend together.
Find out more about Ink Blending.

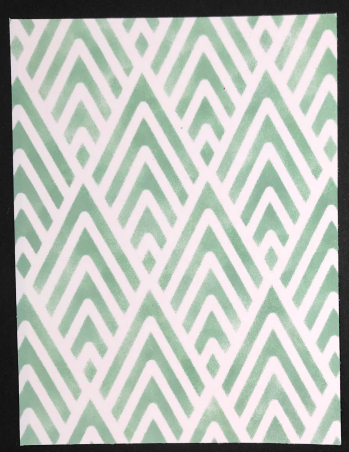
Stencils
Stencils are widely available in craft stores and are a cost effective way to create a background.
The stencil is laid over the card and secured with removable tape to stop it moving around. Gently use either a sponge or a sponge dauber to dab the ink into the spaces.
When finished remove the stencil to see your results.
Find out more about Stencilling Techniques.

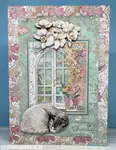
Embossing Folders
Dry embossing with embossing folders produces a textured background that can either be left plain or stepped up with coloured ink.
The example below use the brayered ink embossing technique where ink is added to the raised side of the embossing folder.
Alternatively, add coloured ink with a sponge dauber to the raised areas onto the card after it has been embossed. This method gives more scope to use a mixture of different colours.
Find out more about using Embossing Folders.

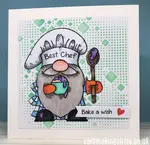
Clear Block Stamping
This is another simple but effective technique using a large clear acrylic block.
Simply tap an ink pad gently over the block. Then use the inked block to stamp on the card.
Once dry you can then stamp over the top of your blocked colour.
Find out more about Block Printing
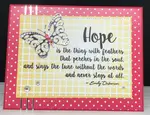
Embossing Paste
Embossing paste is an easy way to add instant texture to your card.
Secure a stencil over your card with removable tape. Apply the paste over the stencil smoothing with a palette knife. Allow to dry before removing the stencil to reveal your textured card.
Add ink to colour your embossing paste. Use either ink from a refill bottle or smear a little ink onto a craft mat and mix with a palette knife.

More Card Making Backgrounds
For more card backgrounds check out the following pages:
More Card Making for Beginners...
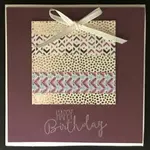
Using Focal Images
Using focal image will make your handmade cards stand out and can often convey more than words
Simple Card Making
If you are new to card making or just short of time try some simple card making ideas.
Paper Pads for Card Making
Create quick and simple handmade cards with paper pads for card making
Matting and Layering for Card Making
What's matting and layering in card making? And how do you use them? Find out more....
Card Making Techniques for Beginners
Card making techniques for beginners to get you started with creating your handmade greeting cards
Card Making Sentiments
Add card making sentiments to your handmade cards to send a personalised message.
Card Making for Kids
Fun and easy card making for kids
Card Making For Beginners
Interested in card making but not sure how to start? Join me and find out more with Card Making for Beginners.
Simple Card Layouts
Use these simple card layouts for making cards with minimum supplies. Great for new card makers.
Easy Card Making
Time to get started! Easy card making ideas for beginners.


FREE!
Card Making
Resources
in my

And
SIGN UP TODAY!
for more exclusive content