Sign up TODAY for Card Making News! Learn More >
- Home
- Card Making Techniques
- Ink Blending
Ink Blending for Card Making
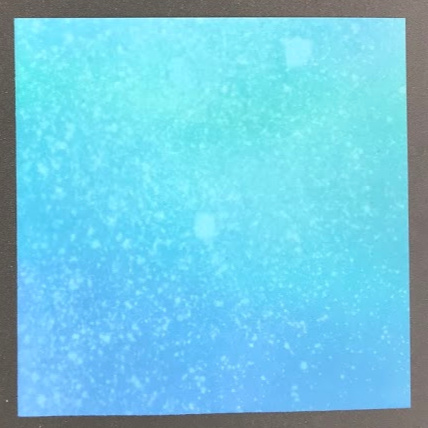
Ink blending is a great way to create a gradient effect on your paper. Perfect for creating card backgrounds such a night sky, sea or a landscape scene.
Before choosing your inks think about the colours you are going to use and how they are going to blend together.
Using a Colour Wheel can help you make your choices. Blend colours next to each other on the colour wheel to prevent your blending turning into a muddy colour.

Blending with Dye Inks
Blending with dye inks takes time and patience as the ink is absorbed quickly into the paper.
To blend your ink you can use:
- Sponges
- Brayers
- Blending tools
- Blender brushes
Brayers or blender brushers are easier to grip especially if you have arthritis or stiff fingers. Less pressure is also required to blend the ink making it an easier option if you have dexterity issues.
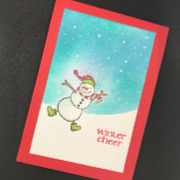
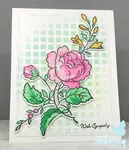
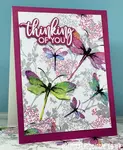
The example below uses three complementary colours. Always start blending with the lightest colour and work towards the darkest colour.
This applies to whatever implement/tool you are using.
Let's look at some tools to help with blending.....
- The Tsukineko Jumbo Daubers and ink sweepers have large inserts for fingers.
- The Tonic Studios Mini Blending Brushes have a stubby handle that is easier to grip for greater control.
- The Clarity Stencil Brushes are excellent quality and as they have a long handle it would be possible to add Plastazote tubing for a firmer grip. (See Accessible Card Making for more details and a video on using Plastazote tubing.)
- "Life Changing Brushes" from Picket Fence Studios or similar make up brushes have long handles that give more control over your blending.
Blending with Distress Inks

Distress inks and Distress Oxide inks are much easier to blend than dye inks. They take longer to dry giving you ample time to blend the colours.
Ranger, the manufacturer of the Distress brand recommend their own blending tool with interchangeable pads that are attached to the bottom of the tool with Velco tape.
The advantage of this method is that it's relatively cheap to have a sponge for each ink pad. To store the pads attach to the bottom of the ink pad with a sticky dot of velcro.
The downside is you can get ink all over your hands when you remove the sponge.
The handle is also quite thin that may be difficult to hold if you have arthritic finger joints.
When using the tool dab the ink pad to collect the ink and then dab off a little of the ink onto scrap paper before starting to blend.
Like the sponge use a circular motion and move slowly onto the card from your scrap paper with a light pressure. Once a layer of ink is laid on the card blending the different colours becomes easier.
Remember to wait until the ink is fully dried before stamping or embossing your sentiment or images.
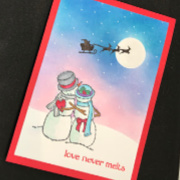
Distress inks are an unique water-reactive dye & pigment ink fusion.
When sprayed with water it creates an oxidized effect that makes the blending mottled.
Ideal for a card with a sea/fishy theme!

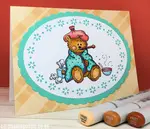
More Ink Blending Examples....

Discover More Card Making Techniques....
Colouring for Card Making
Use colouring for card making on your handmade greeting cards.
Stencilling Techniques for Card Making
Create beautiful card backgrounds with stencilling techniques for card making.
Rub-Ons for Card Making
Save time by using rub-ons for card making for your handmade greeting cards.
Retiform technique
Learn how to do the Retiform Technique with step by step instructions.
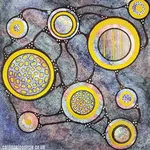
Neurographic Art
Use neurographic art to create original handmade cards. It's so relaxing!
Napkin Cards
Save money by making cheap napkin cards from your left over paper napkins.
- Home
- Card Making Techniques
- Ink Blending


FREE!
Card Making
Resources
in my

And
SIGN UP TODAY!
for more exclusive content