Sign up TODAY for Card Making News! Learn More >
Easy Watercolour Christmas Cards
Before starting your cards check out your card sizes and layers
Click on any Image to see the cards in Gallery format
Christmas Stamps
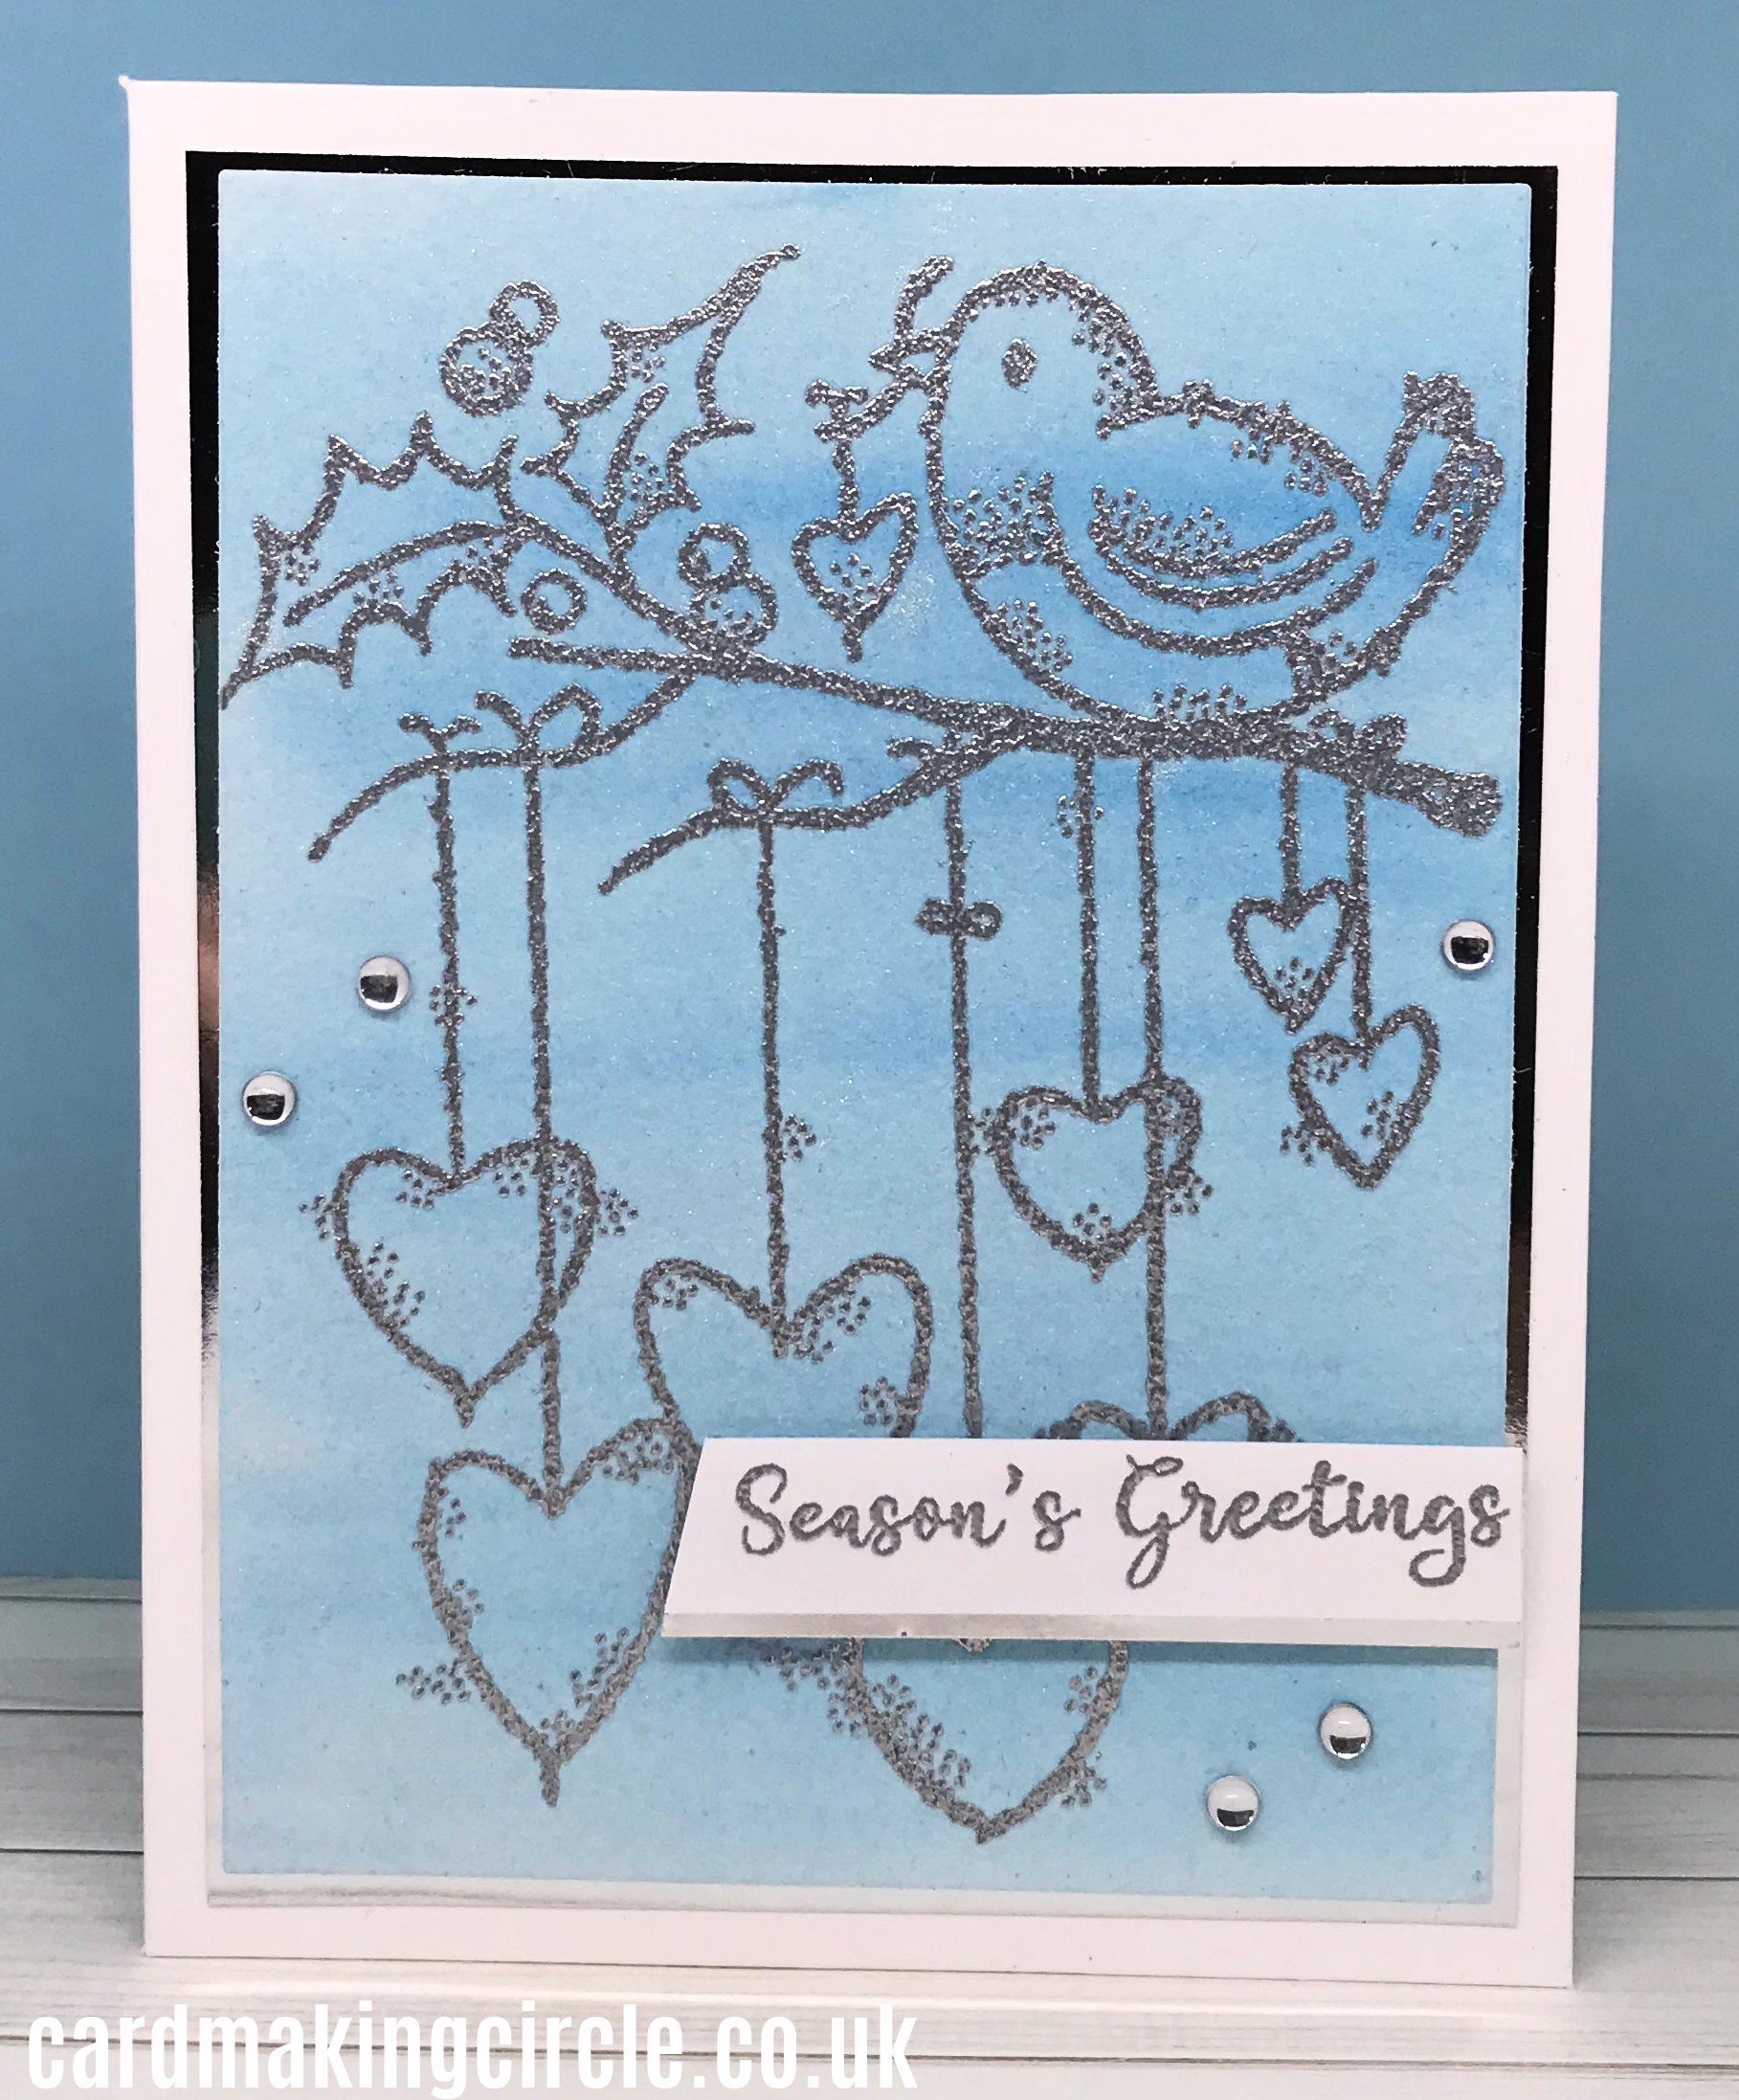
My first card uses a watercolour wash. This is a layer of watercolour paint spread across watercolour paper.
To start I heat embossed a stamped image (Hanging Hearts) from Woodware Stamps onto a piece of watercolour paper.
I used the wet on wet technique.
I taped my paper onto a board to prevent warping with painters tape. Then I wet the paper with a large flat brush to cover the paper with water.
I mixed my paint with water and evenly spread it over the wet paper. The paper was left to dry.
When dry it was removed from the board, cut to size and added to a card front with a silver layer.
A simple sentiment from the same stamp set and silver embellishments completed the card.
Very simple to create and easy to replicate with other stamps.
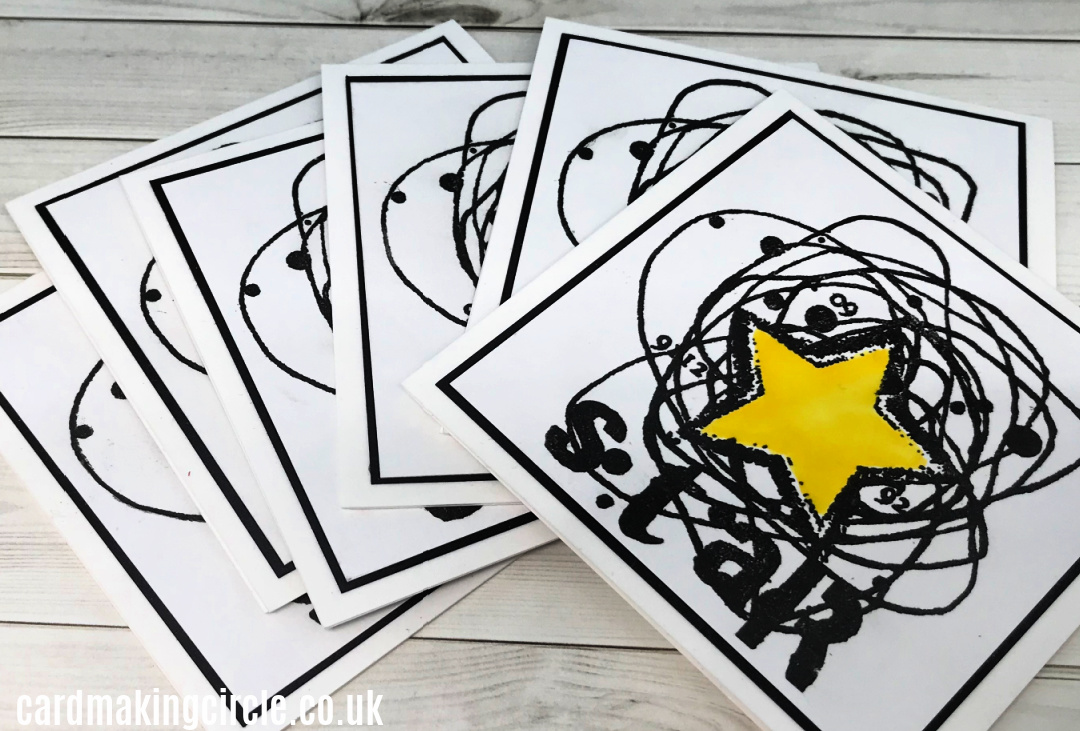
If you are looking to make a batch of cards it doesn't get much quicker than these easy watercolour Christmas cards......
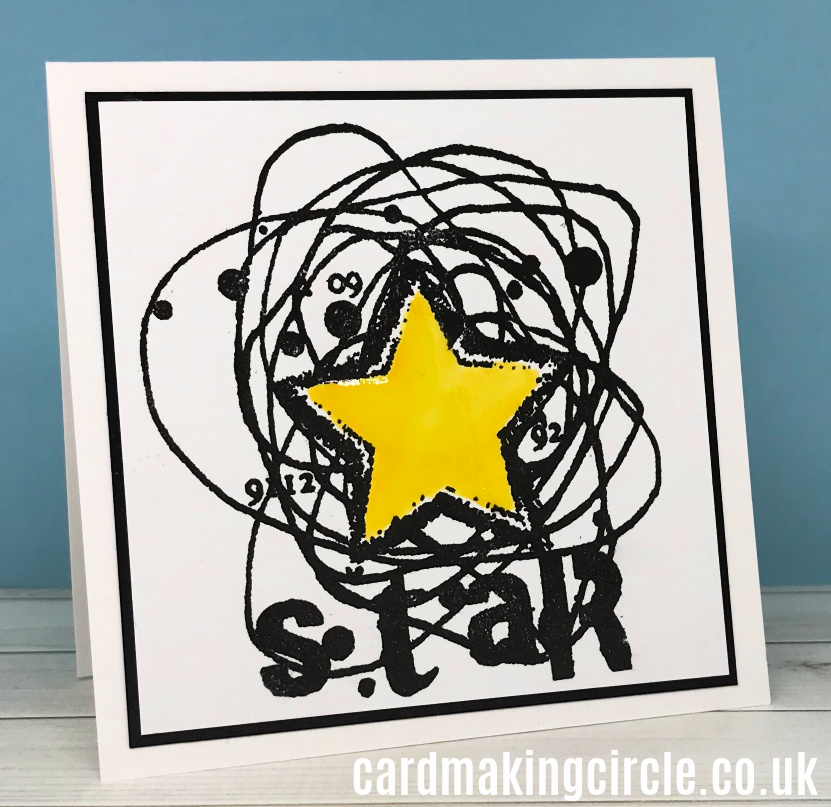
The small star stamp from Visible Image was stamped with Versafine onyx black pigment ink onto Bristol card cut to 3 1/2" square for a 4" square card base.
Remember your ink must be waterproof if you're not heat embossing. An alternative is to stamp with an embossing ink and heat emboss with embossing powder.
Once stamped colour in the star. I used watercolour markers and a water brush.
To make the star shine cover with Glossy Accents or Nuvo Crystal Glaze.
Christmas Backgrounds
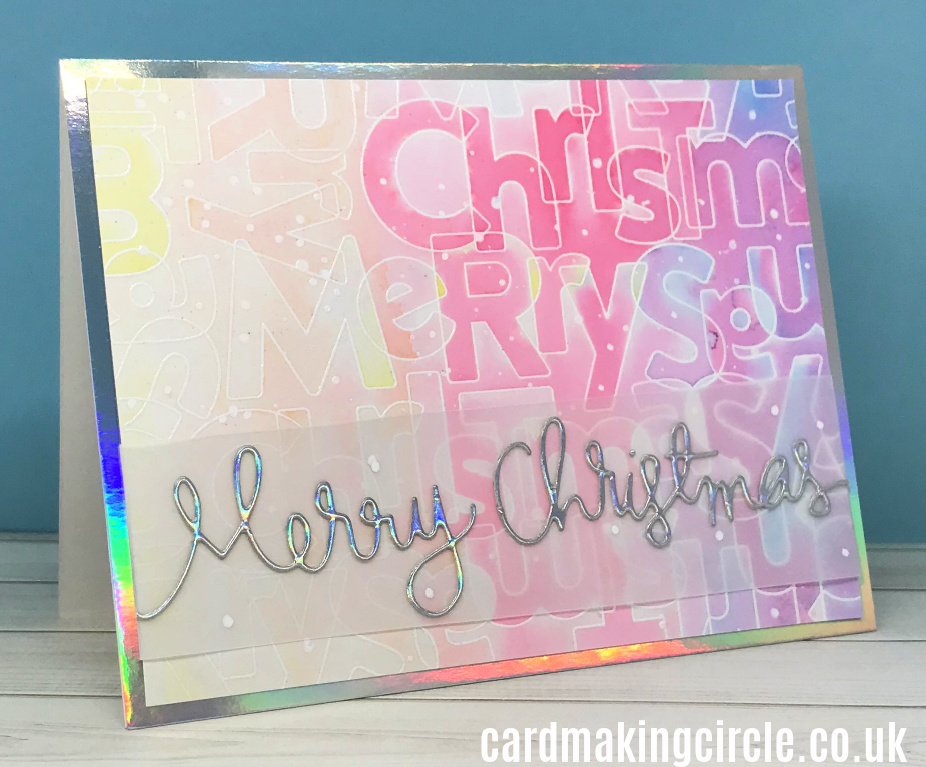
This card uses a background stamp from Simon Says Stamp. It was stamped and heat embossed with white embossing powder on watercolour card stock.
I used zig clean color markers to create a pastel rainbow across the card. I painted the colours at the top of the card. Then held the card upright and sprayed with a water spritzer to allow the paint to drip down the card.
White splatters were added with Dr. PH. Martins Bleed Proof White.
For the sentiment I used a die cut "Merry Christmas" also from Simon Says Stamp glued to a strip of vellum.
Finally, I added a few more splatters with a white Posca pen.
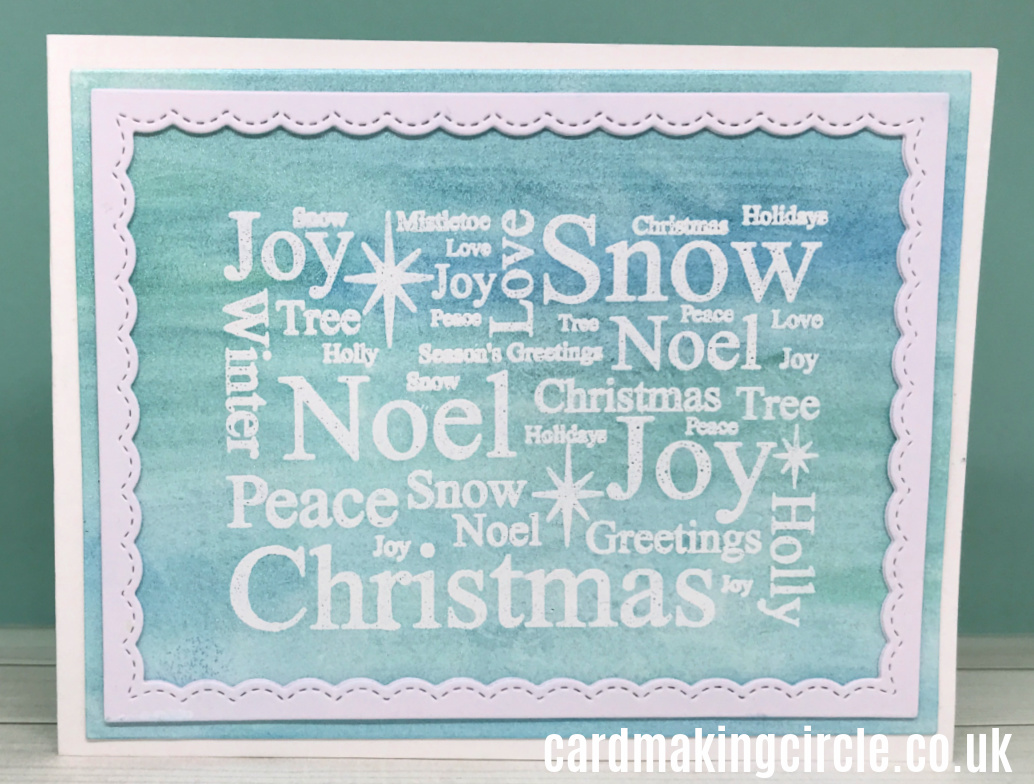
As soon as I saw this small background stamp from Visible Image I thought it would be great for making batch Christmas Cards.
Using the emboss resist technique again I stamped and heat embossed with white embossing powder on watercolour card stock.
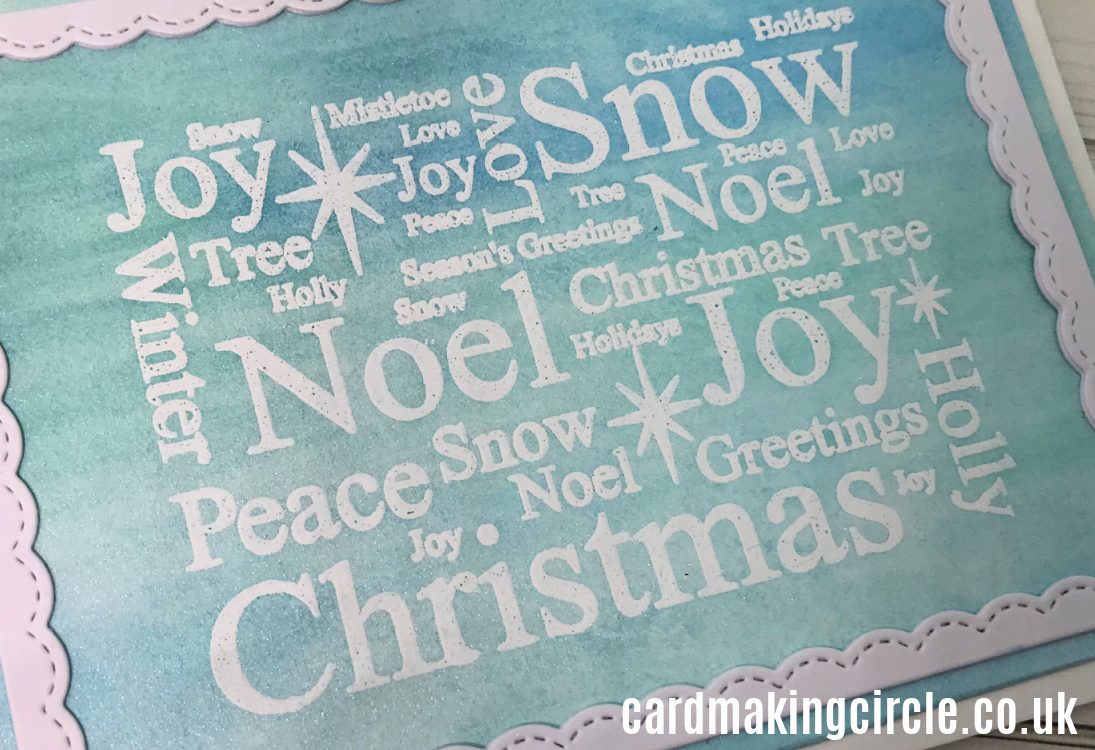
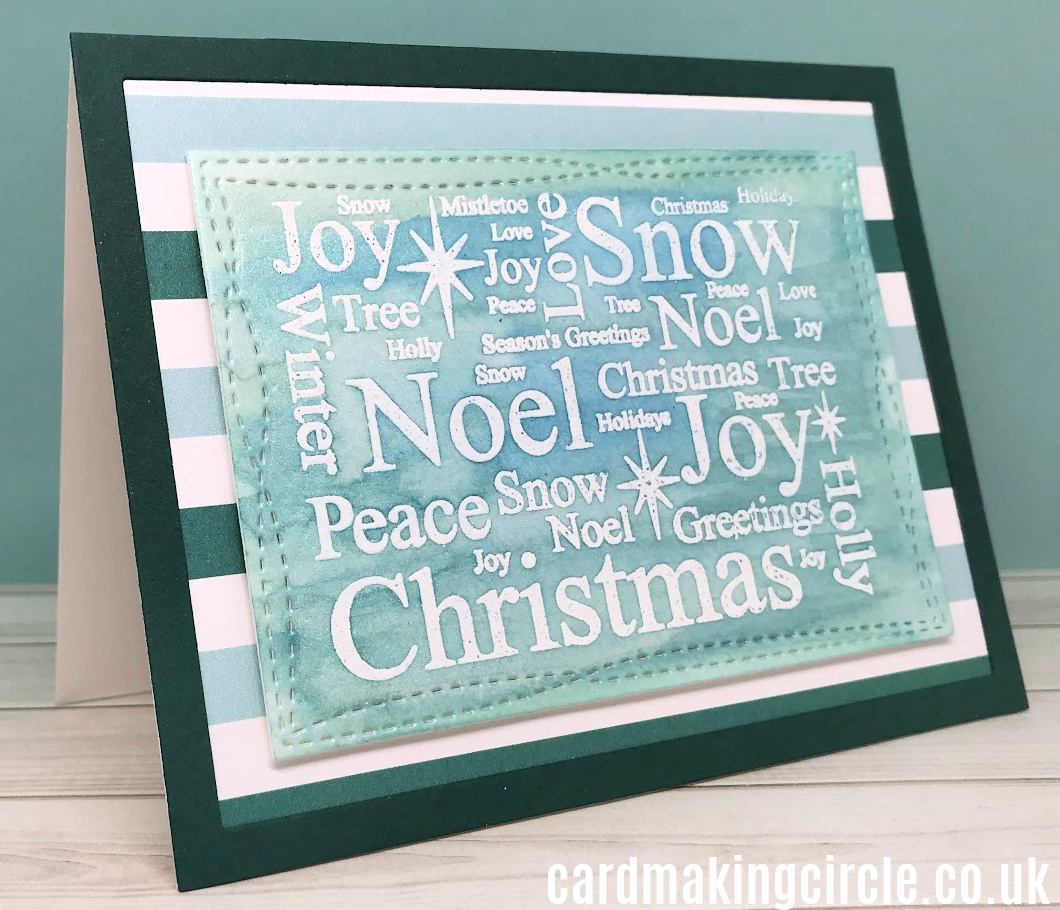
I simply painted over the embossed text with my Altenew metallic watercolour paint set using a mix of aquamarine and topaz.
The finish is gorgeous. Unfortunately, it's difficult to show this in the photos.
To complete the card I added a white die cut frame (layered 3 times) from Sunny Studios.
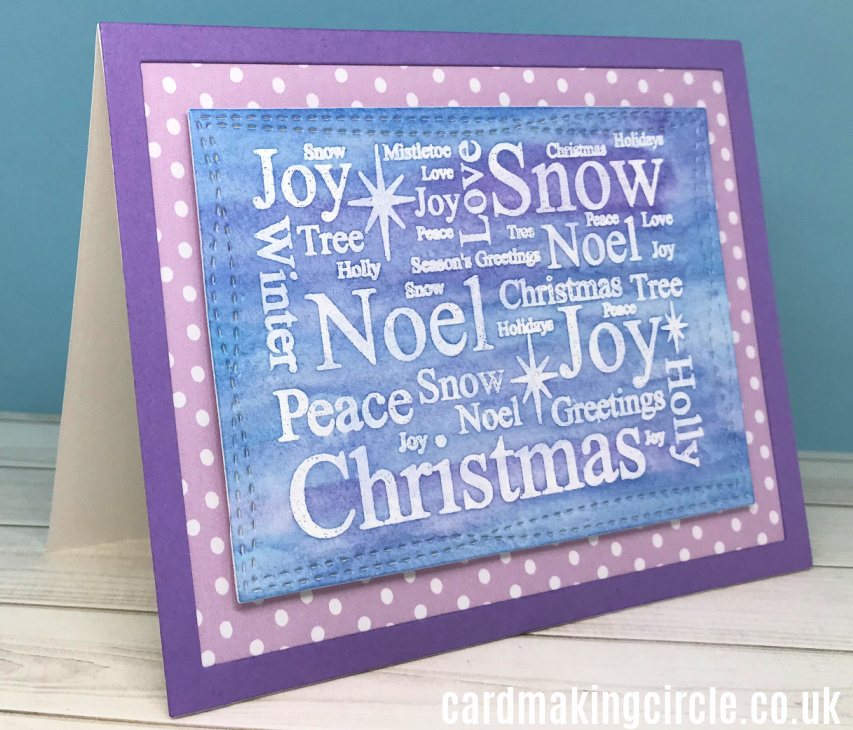
I created a number of backgrounds with this stamp. The background shown above was die cut the the Wonky stitched rectangles from MFT Stamps layered on paper from Waffle flower.
Another example using the same stamp set - this time with with the amethyst and topaz paints from my metallic paint set.
Colouring your cards with watercolour paint is a speedy way to create your Christmas cards. Let me know how you got on in the comments box below......
