Sign up TODAY for Card Making News! Learn More >
Altenew Educator
Certification Program
The Altenew Educator Certification Program or AECP for short has been a wonderful opportunity for me to improve and grow my card making skills.
It's challenged me to try different ideas and techniques outside of my comfort zone. And this in turn has enabled me to pass on this experience to you, my readers.
The Program is divided into 3 levels and has a series of classes at each level.
After many months of working it's time for the Final Challenge for Level 1!
Are you ready!
Here is my challenge....
- Select ANY 3 components from the classes in Level 1
- Create a His and Her Card Set birthday/graduation/encouragement cards (your choice) as a gift set. This makes TWO sets one Masculine and one Feminine.
- Also, use one recycle element on a set or its packaging
Let's get started!
I've learnt so much over the last few months that I felt like a headless chicken in the headlights when choosing the 3 components.
After reflecting for a long time I decided on....
- Clean and Simple - making sure I remembered the mantra "less is more" with areas of white space on the card.
- For the Guys - the use of geometric shapes for cards for men was like a "lightbulb" moment for me so this was an absolute must.
- Layering One and Two - taught me that by layering your stamps you can create a one layer card with visual dimension.
I also used die cutting and heat embossing but these could be omitted if replicating the design.
I chose to use the Dare to Dream stamp set from Altenew as it is geometric and offered a fantastic array of layering combinations. By using different colours the cards could be both masculine and feminine.
The geometric design of this stamp set meant that the design could be used for any occasion. I decided on birthday cards as you can never have enough birthday cards - Right!
When making a batch of cards it's important to make everything one step at a time.
Prepare all the individual components of the cards first before bringing all the parts together to complete the cards.
I used a stamp positioning platform (mini MISTI) to help with the multiple stamping and stamp alignment. You could use stamping blocks but the MISTI made the process easier.
So, here is the method I used step-by-step:
1. Prepare 12 card bases and cut 12 card layers from white card. For the challenge I used US measurements:
Card Base: 5 1/2" x 4 1/4"
Card Layer: 5" x 3 3/4" (I embossed this layer with a subtle embossing folder for a little bit of texture)
Check out card sizes and layers for alternative measurements.
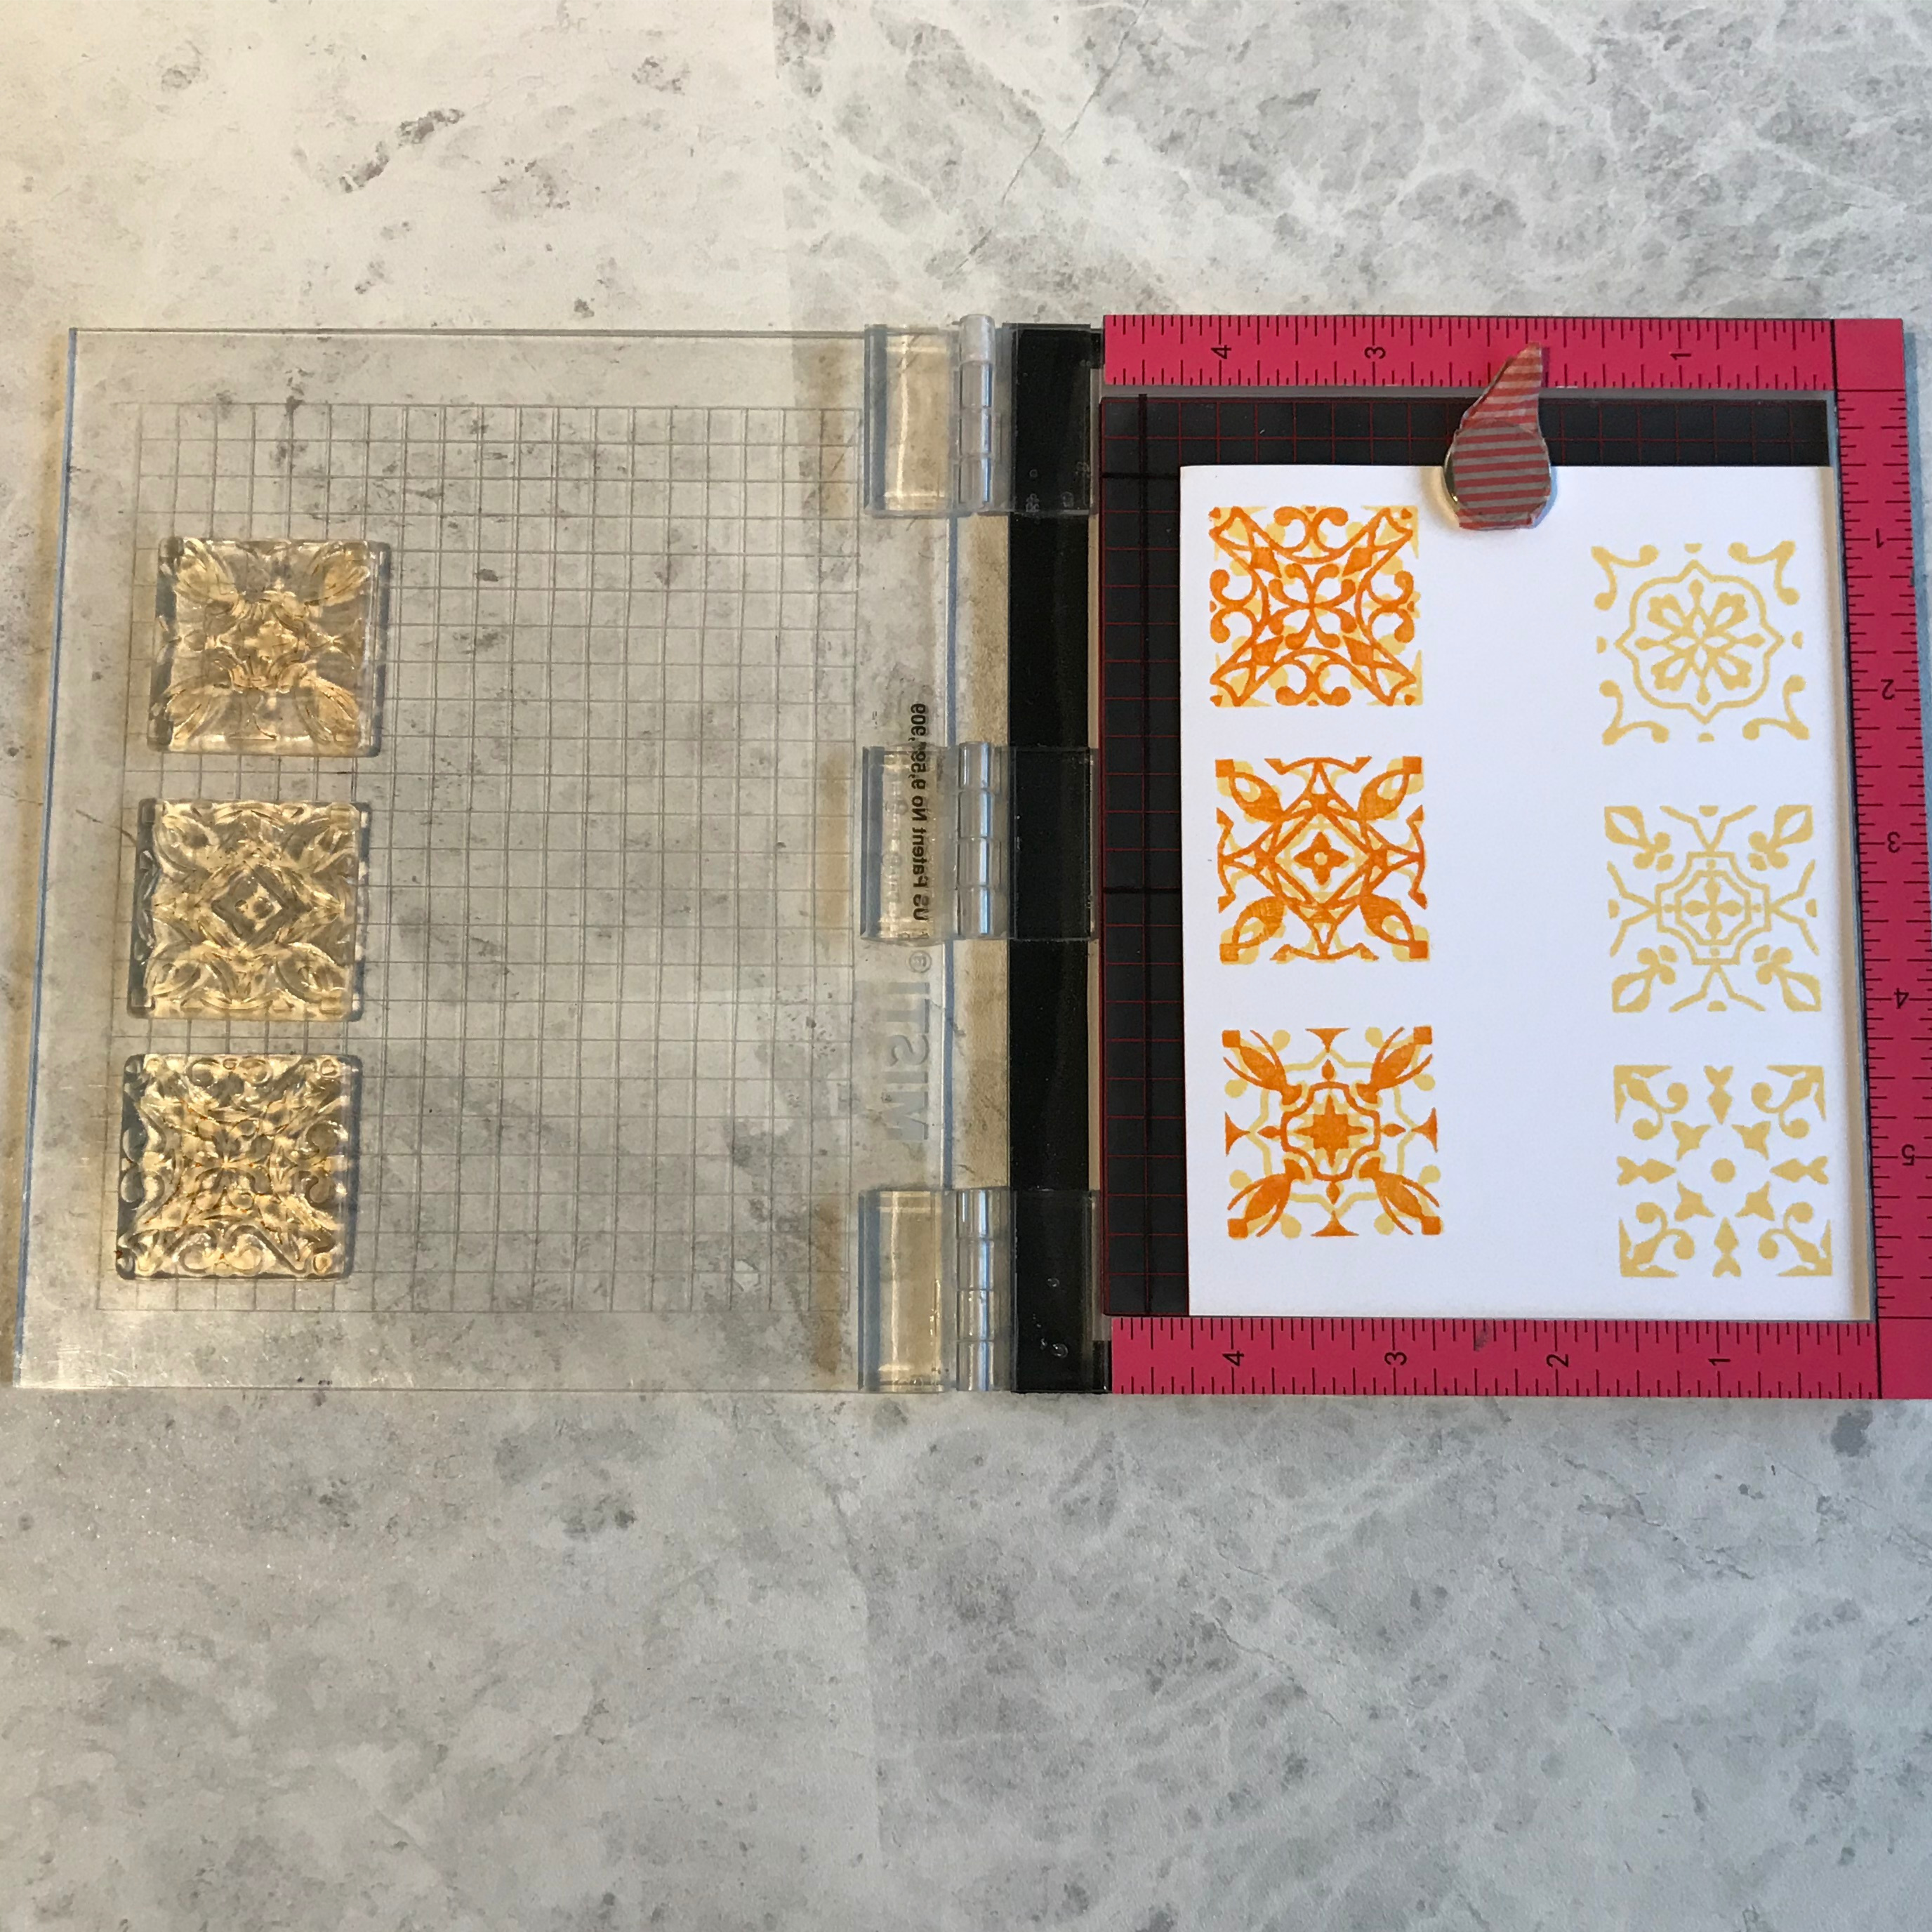
2. Select 3 different tile stamps from the stamp set and place in a stamp positioning tool.
The grid lines and measurements along the edge help with alignment.
Place white card in the corner of MISTI.
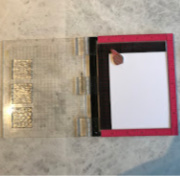
3. Ink up stamps. Close lid of MISTI to stamp.
Turn white card around 180 degrees and stamp again.
This produces two rows of stamped tiles in the base colour.
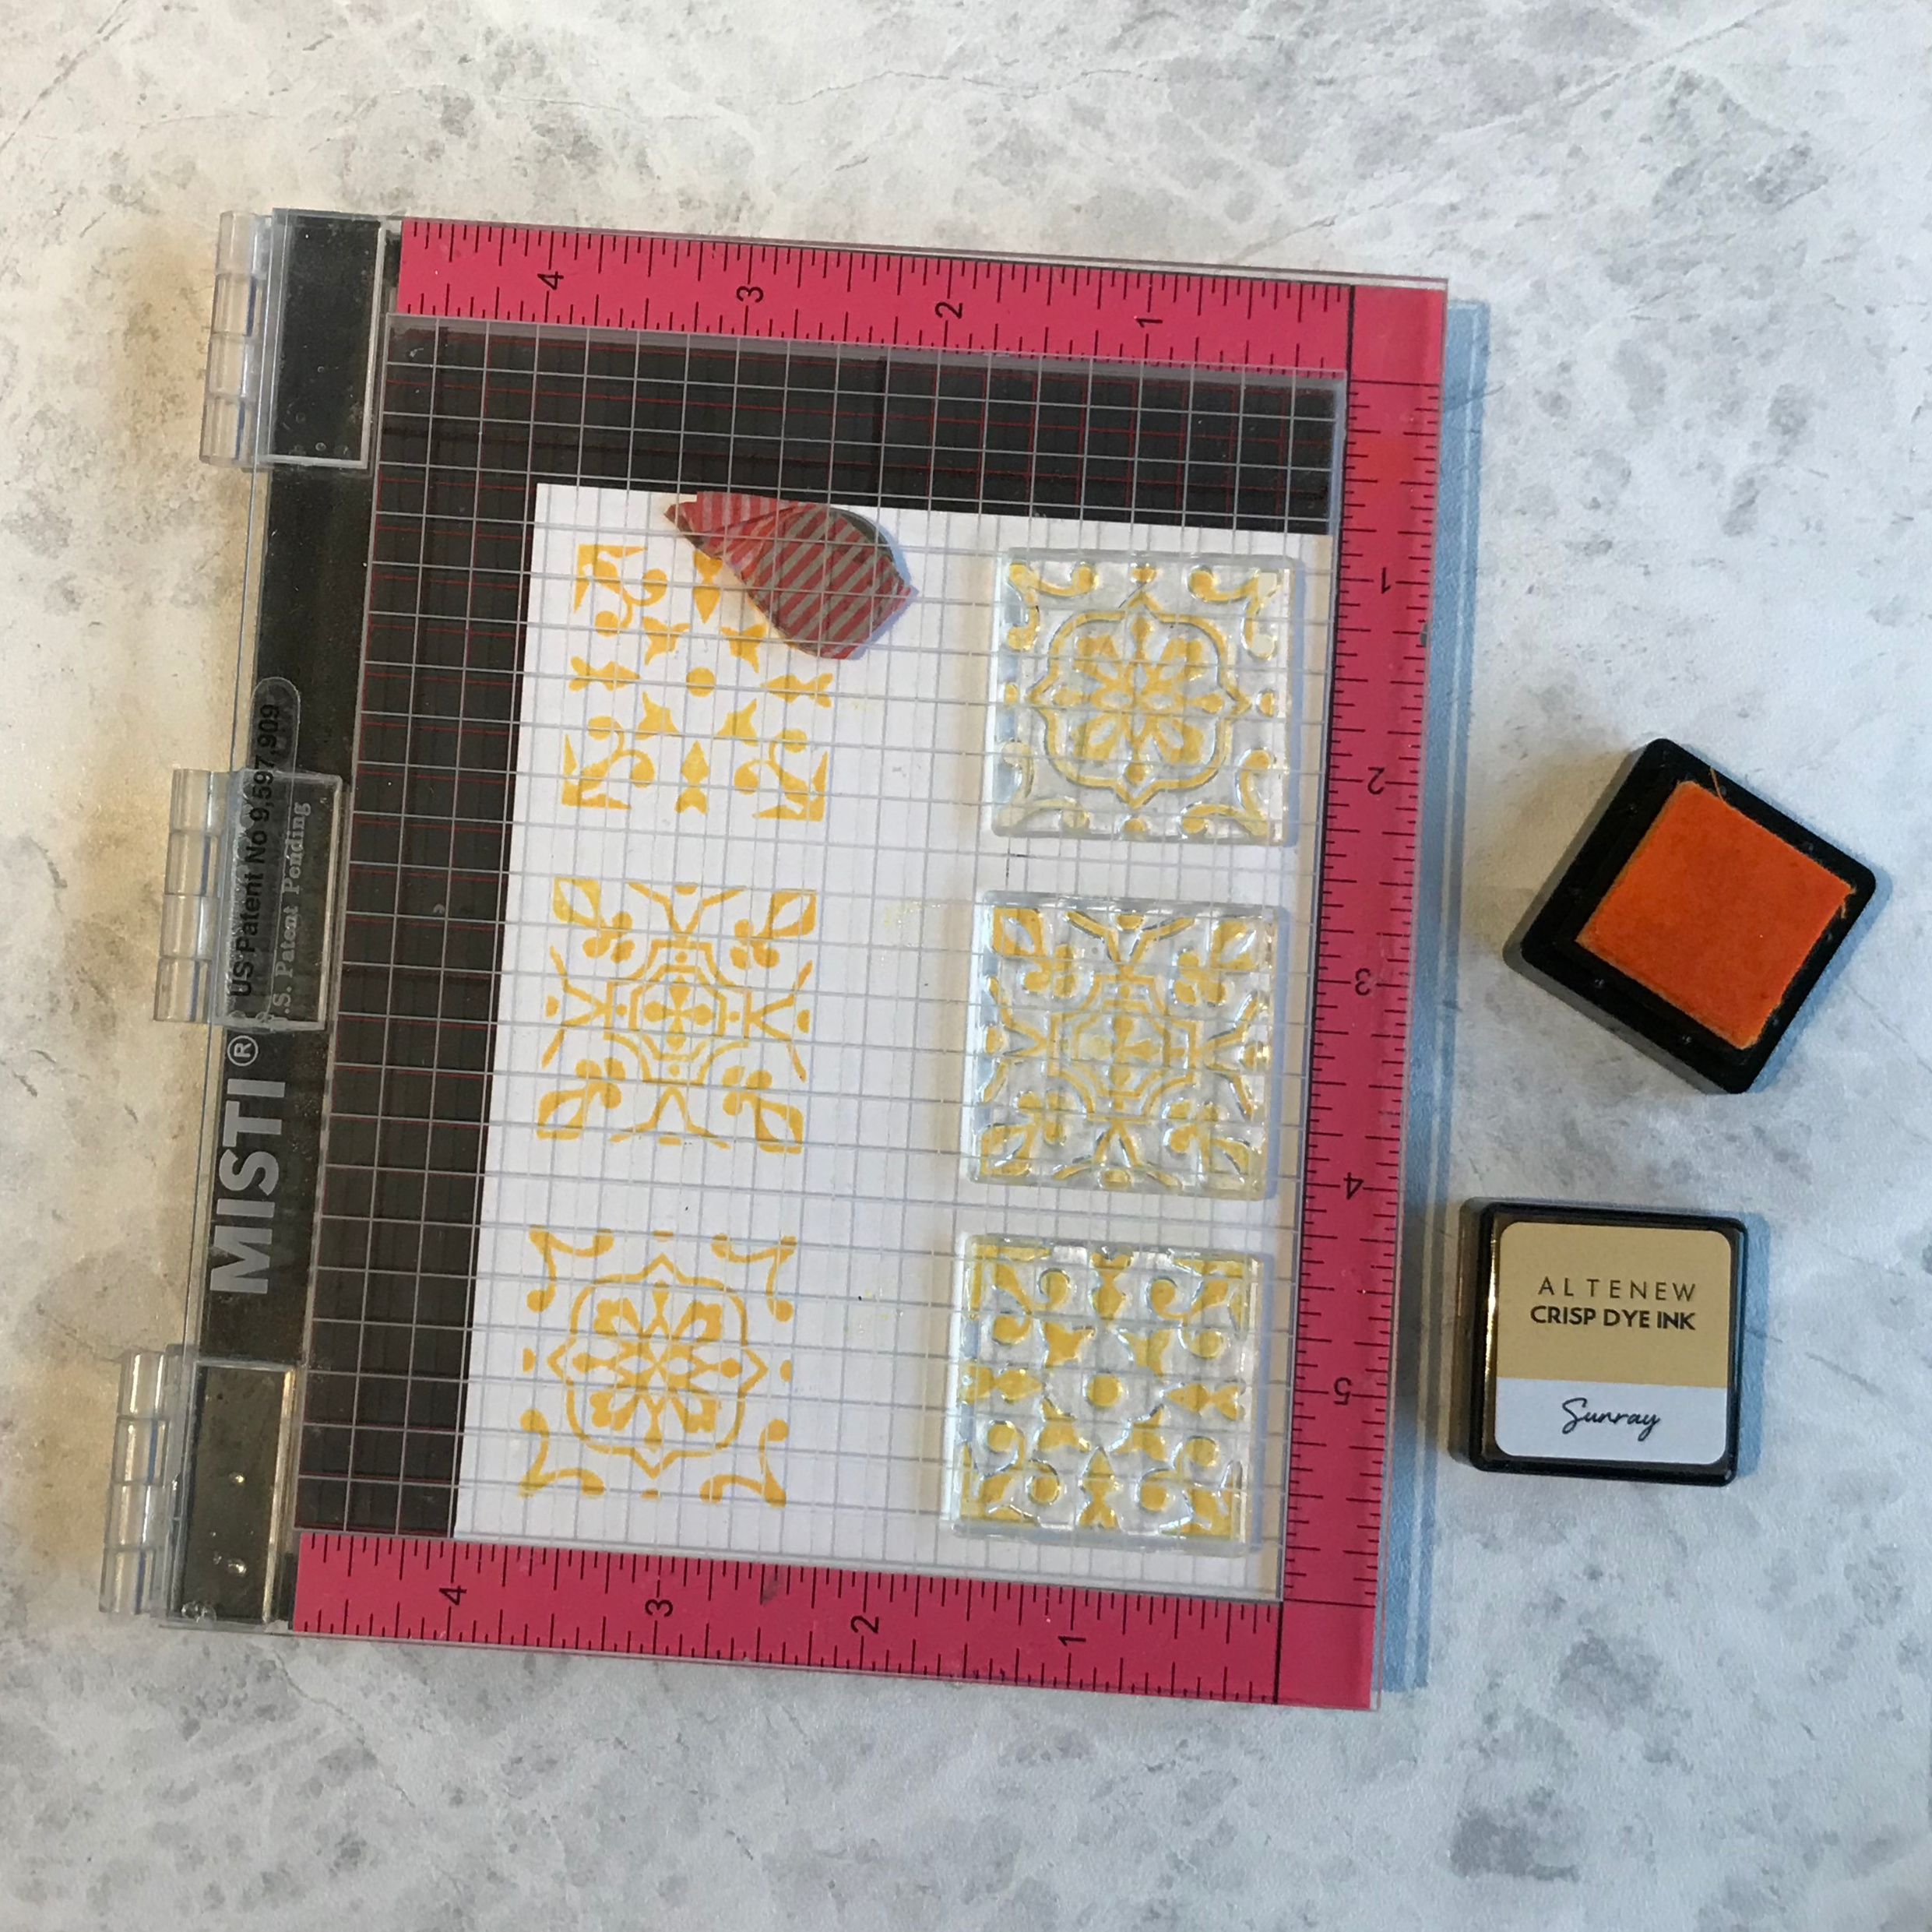
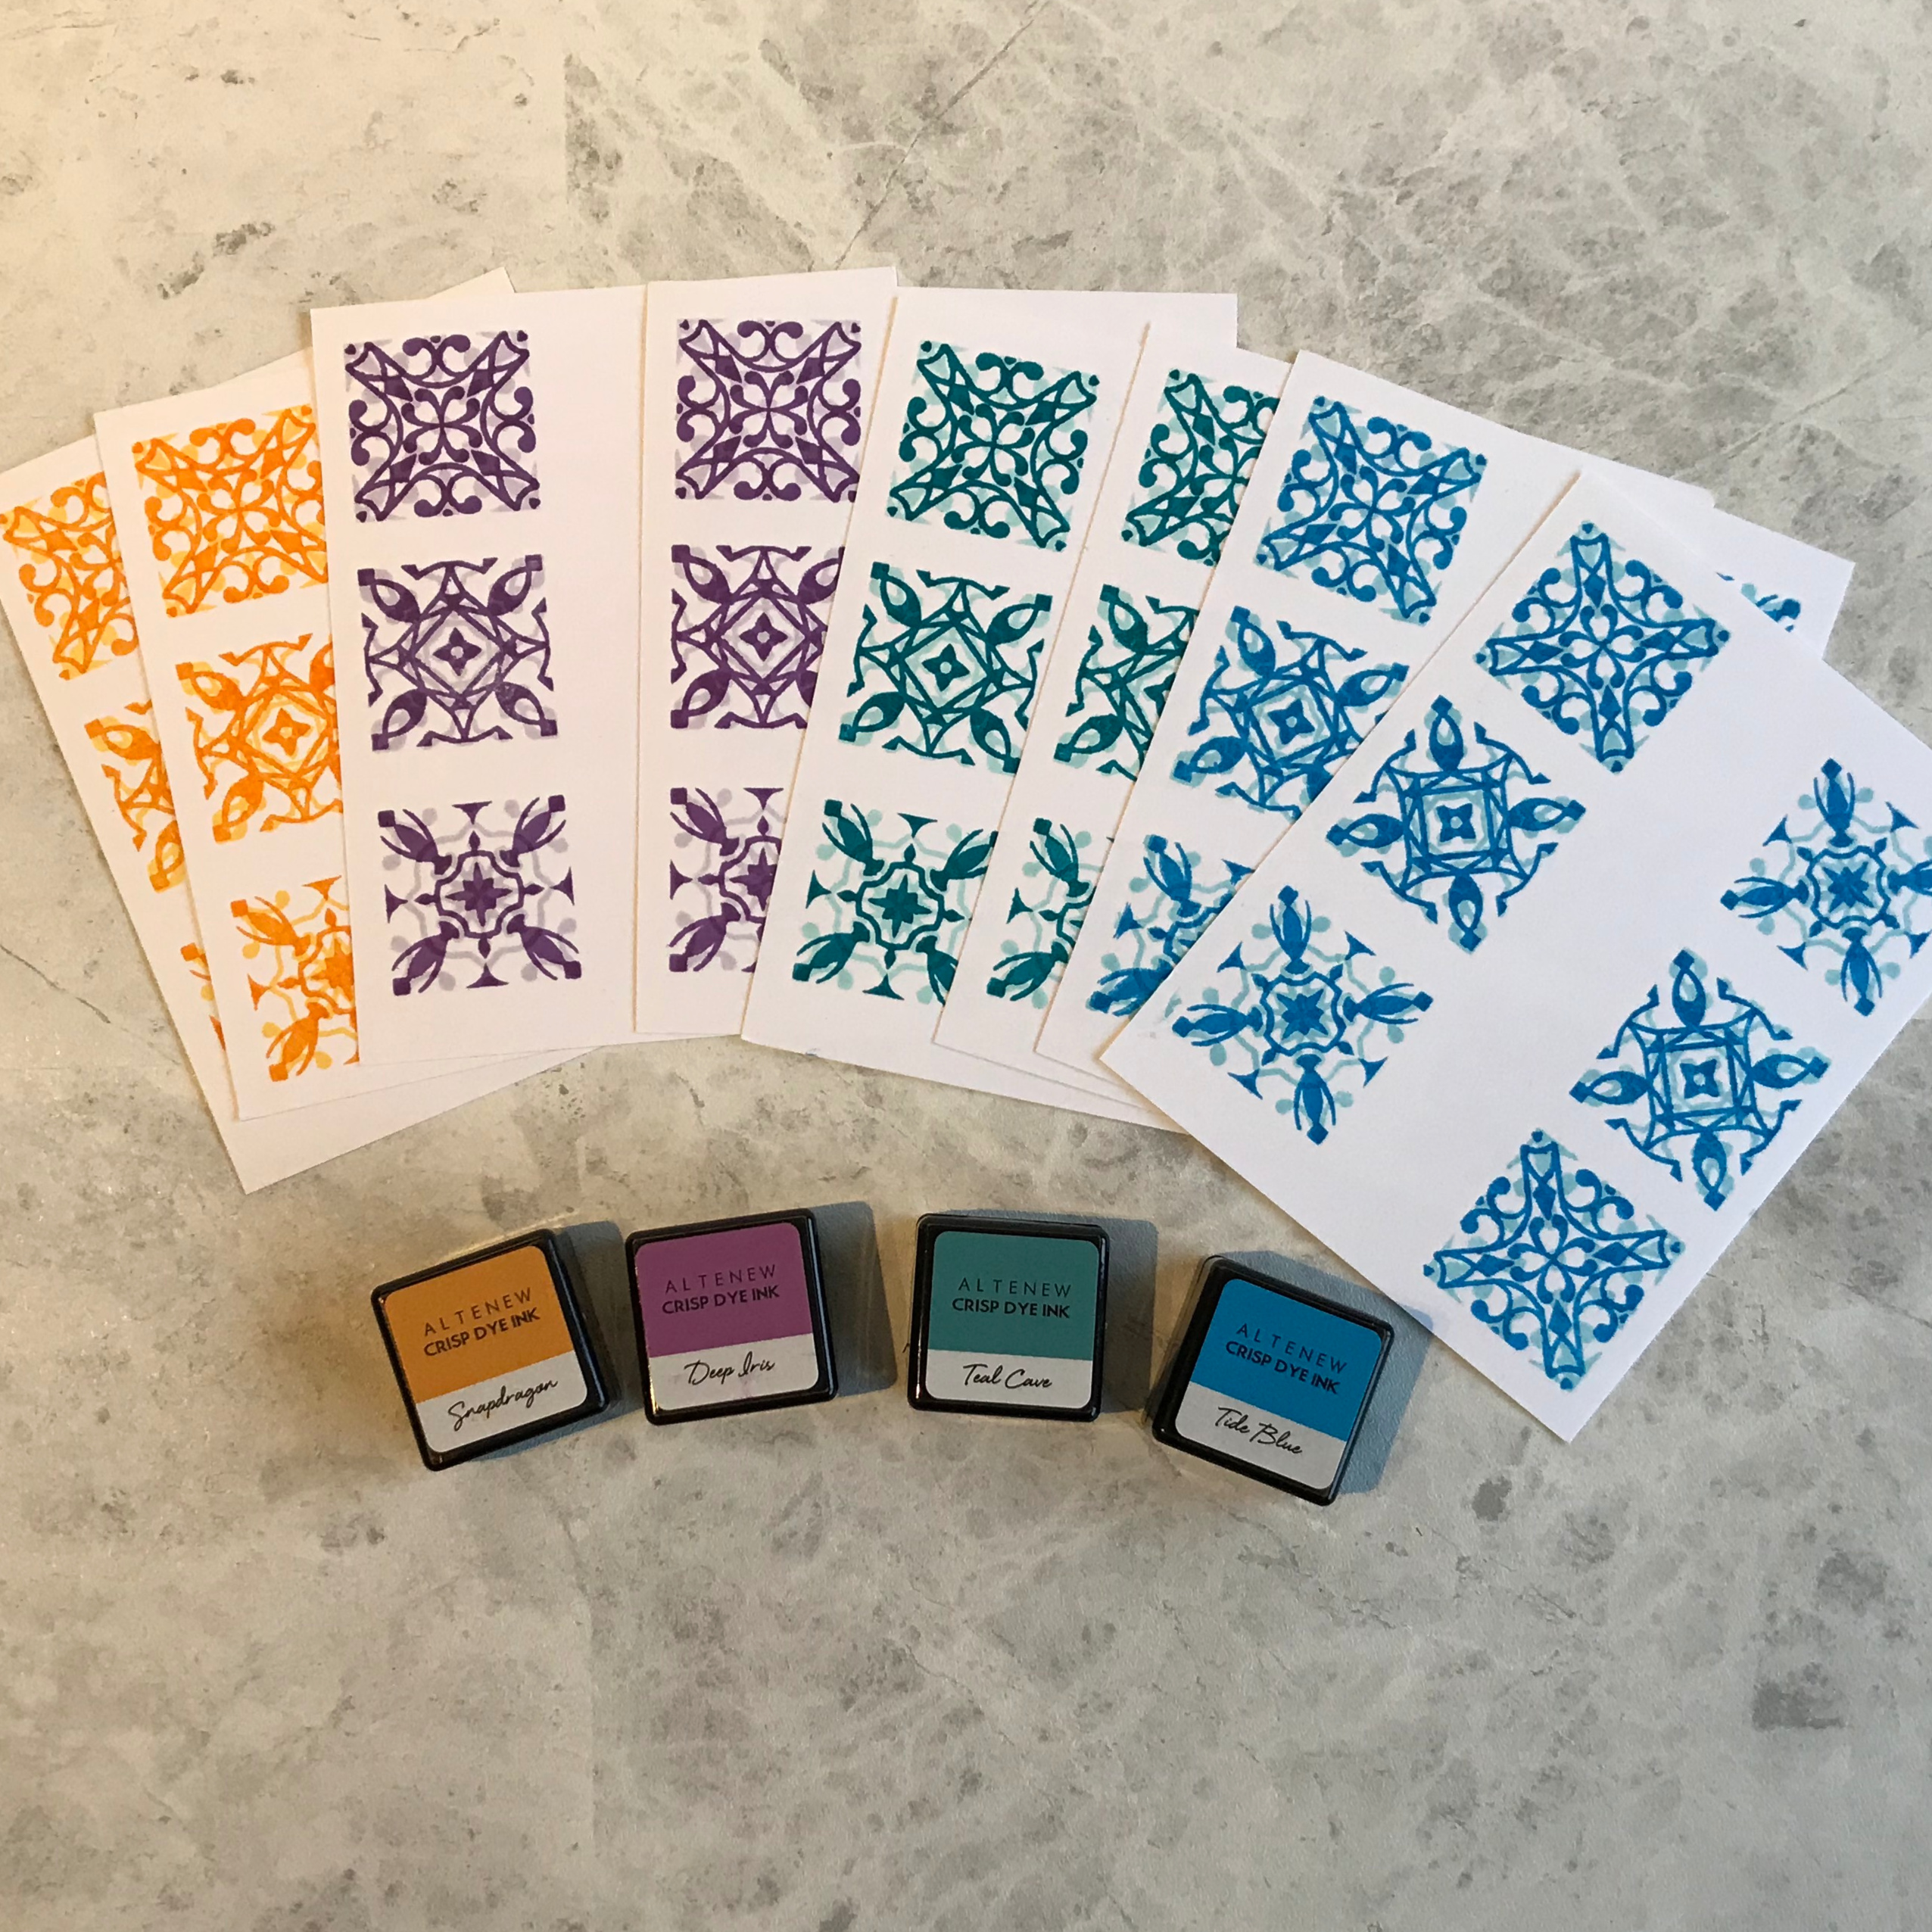
4. Repeat this process with three more base colours.
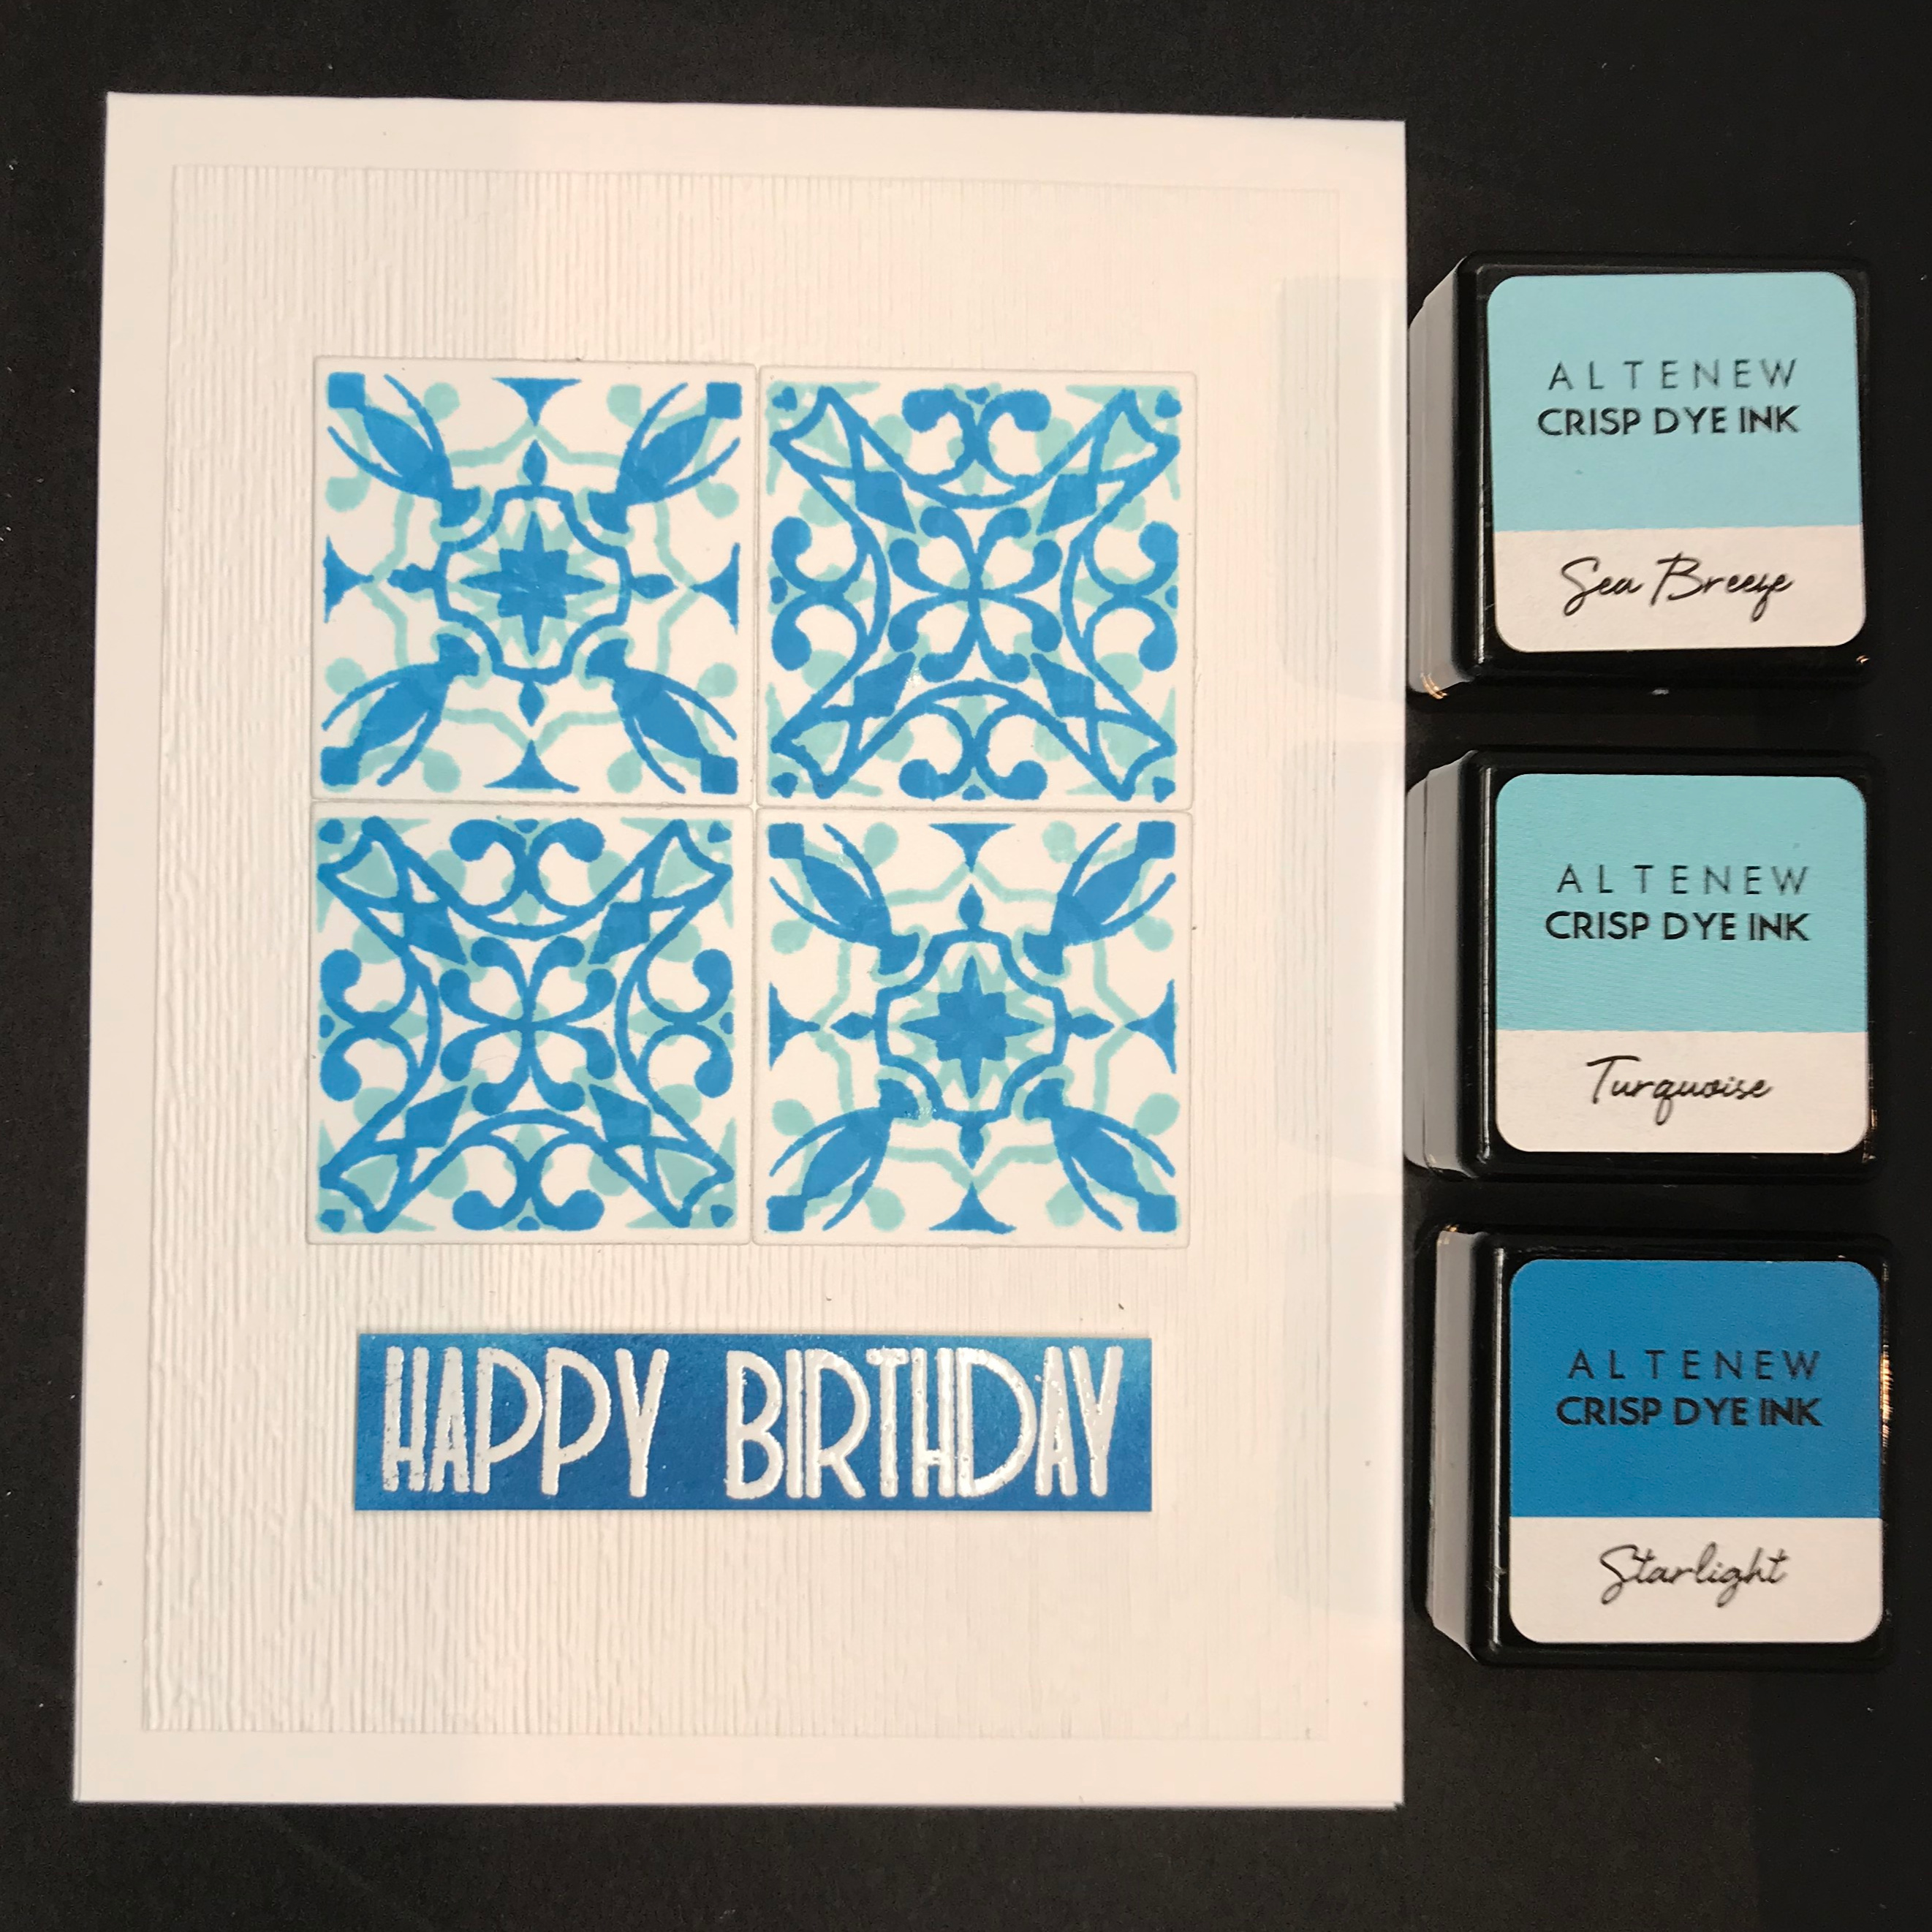
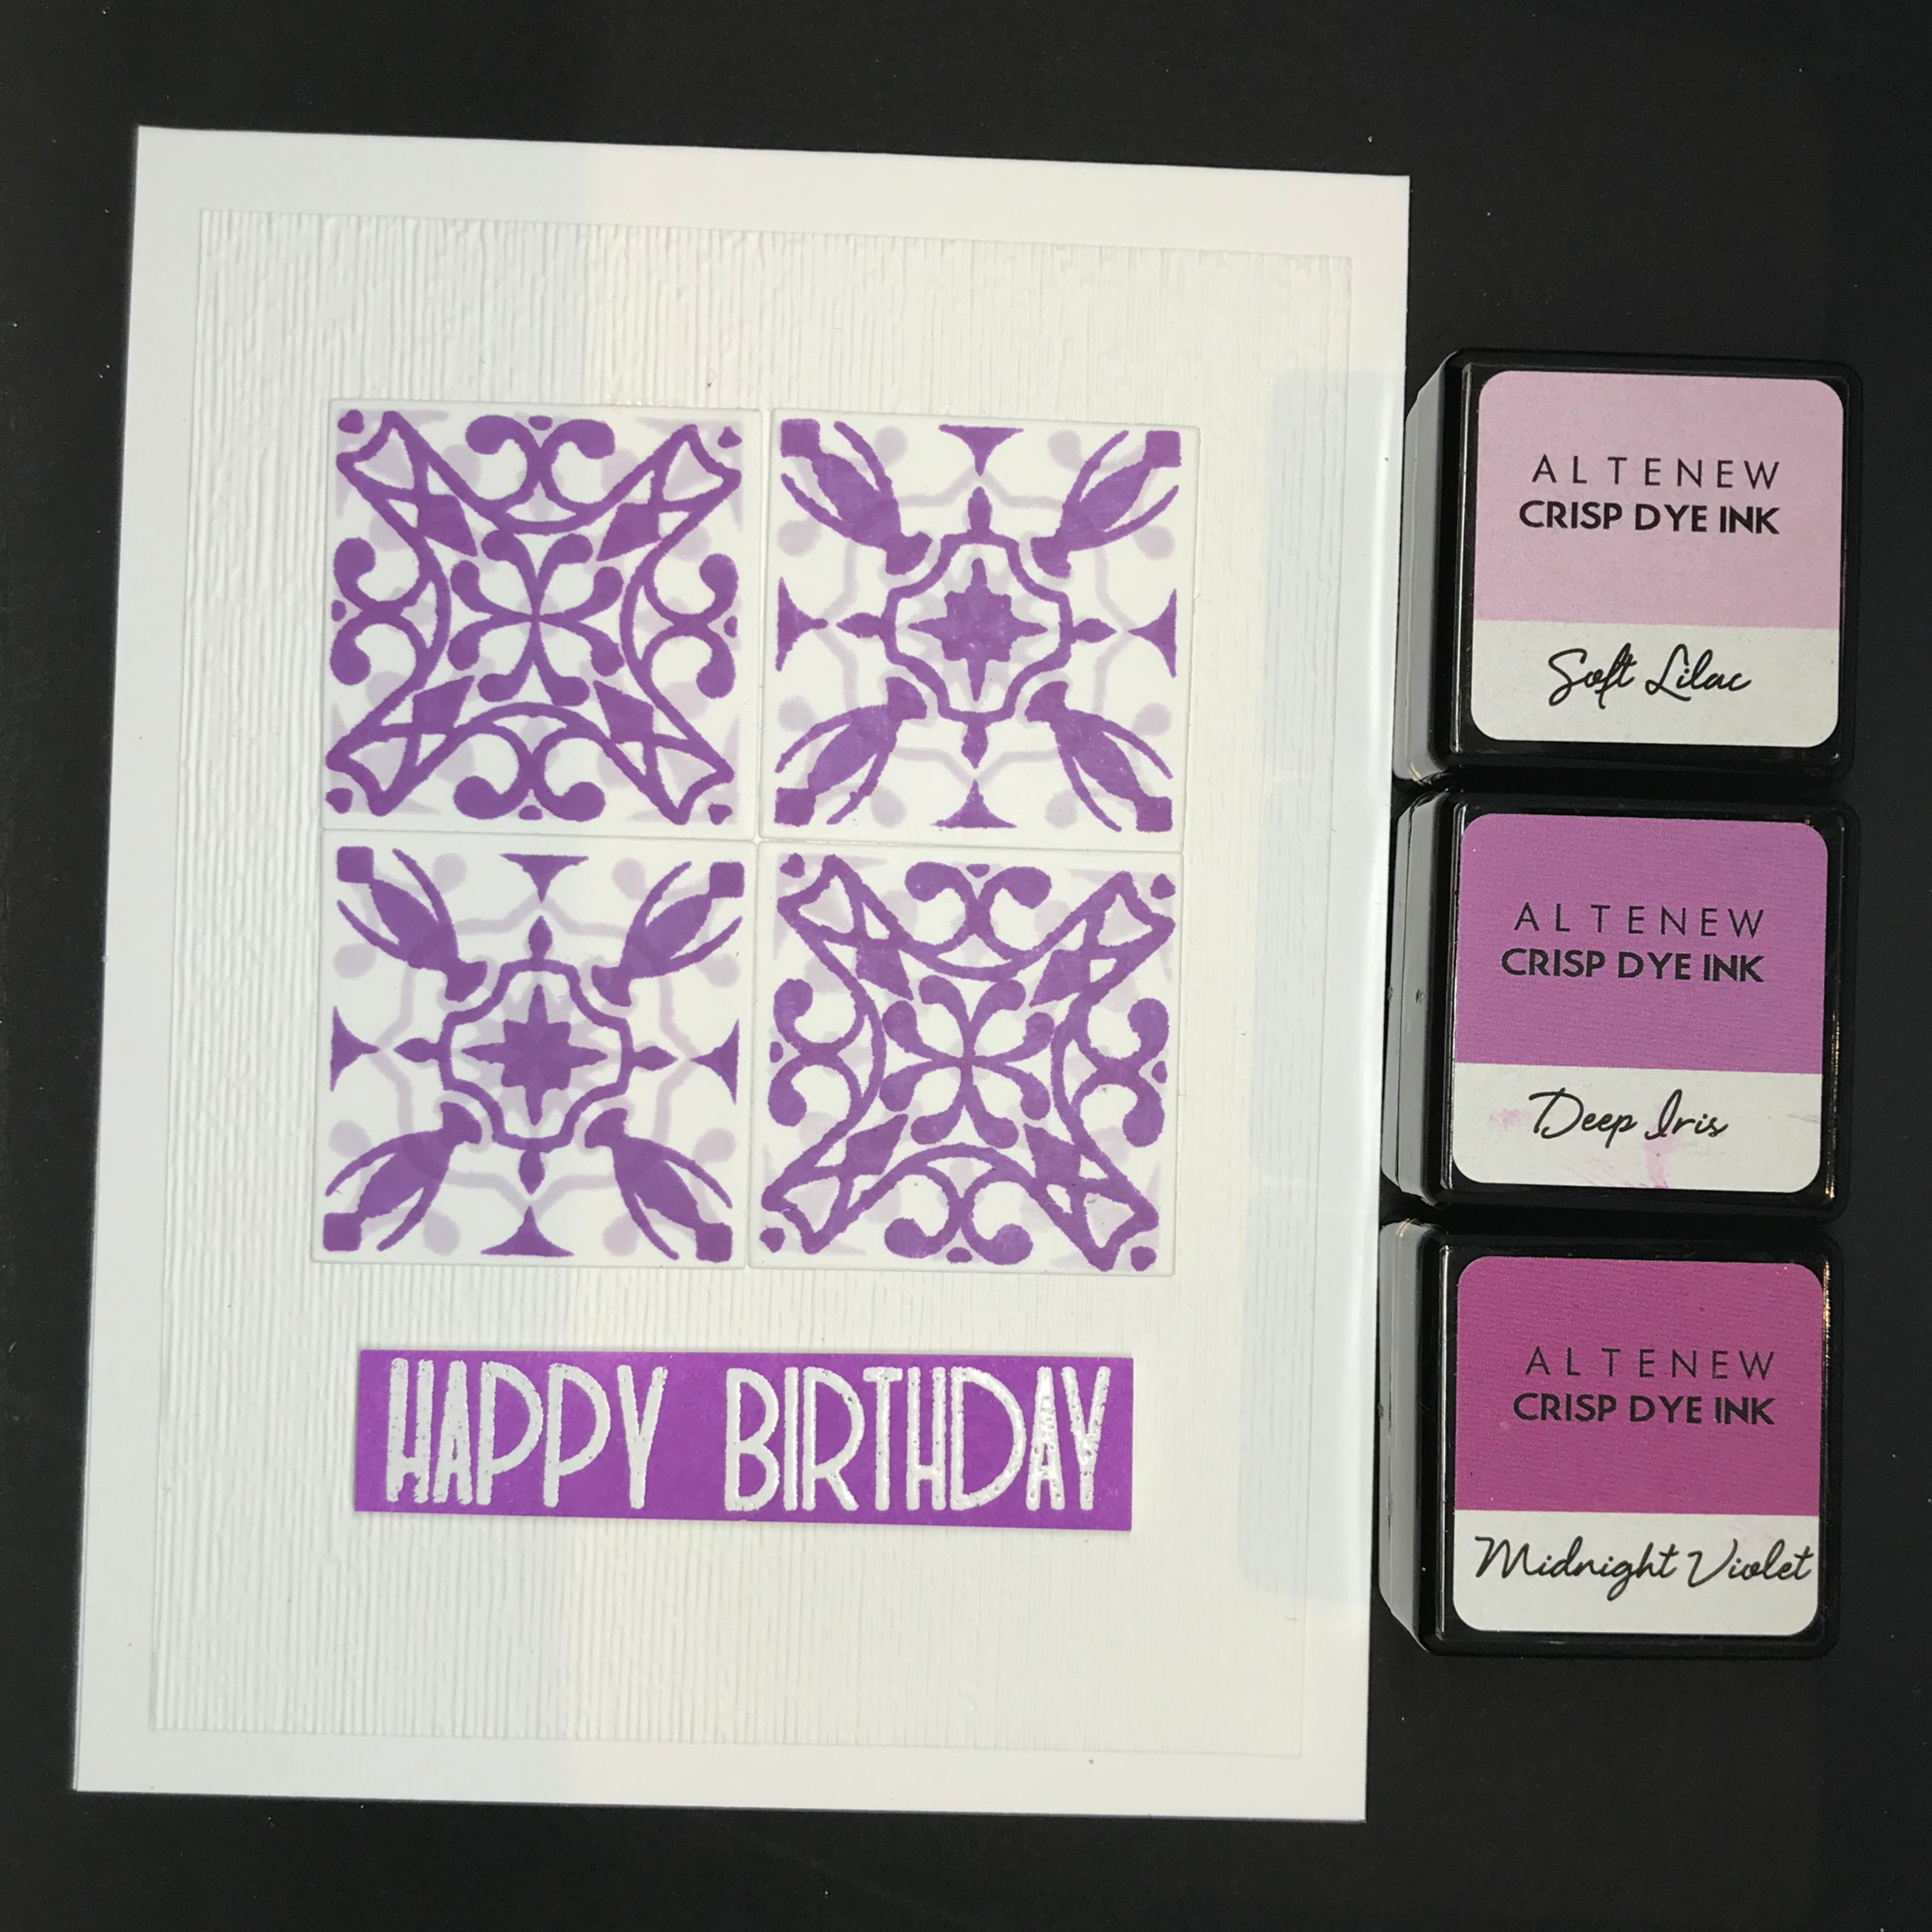
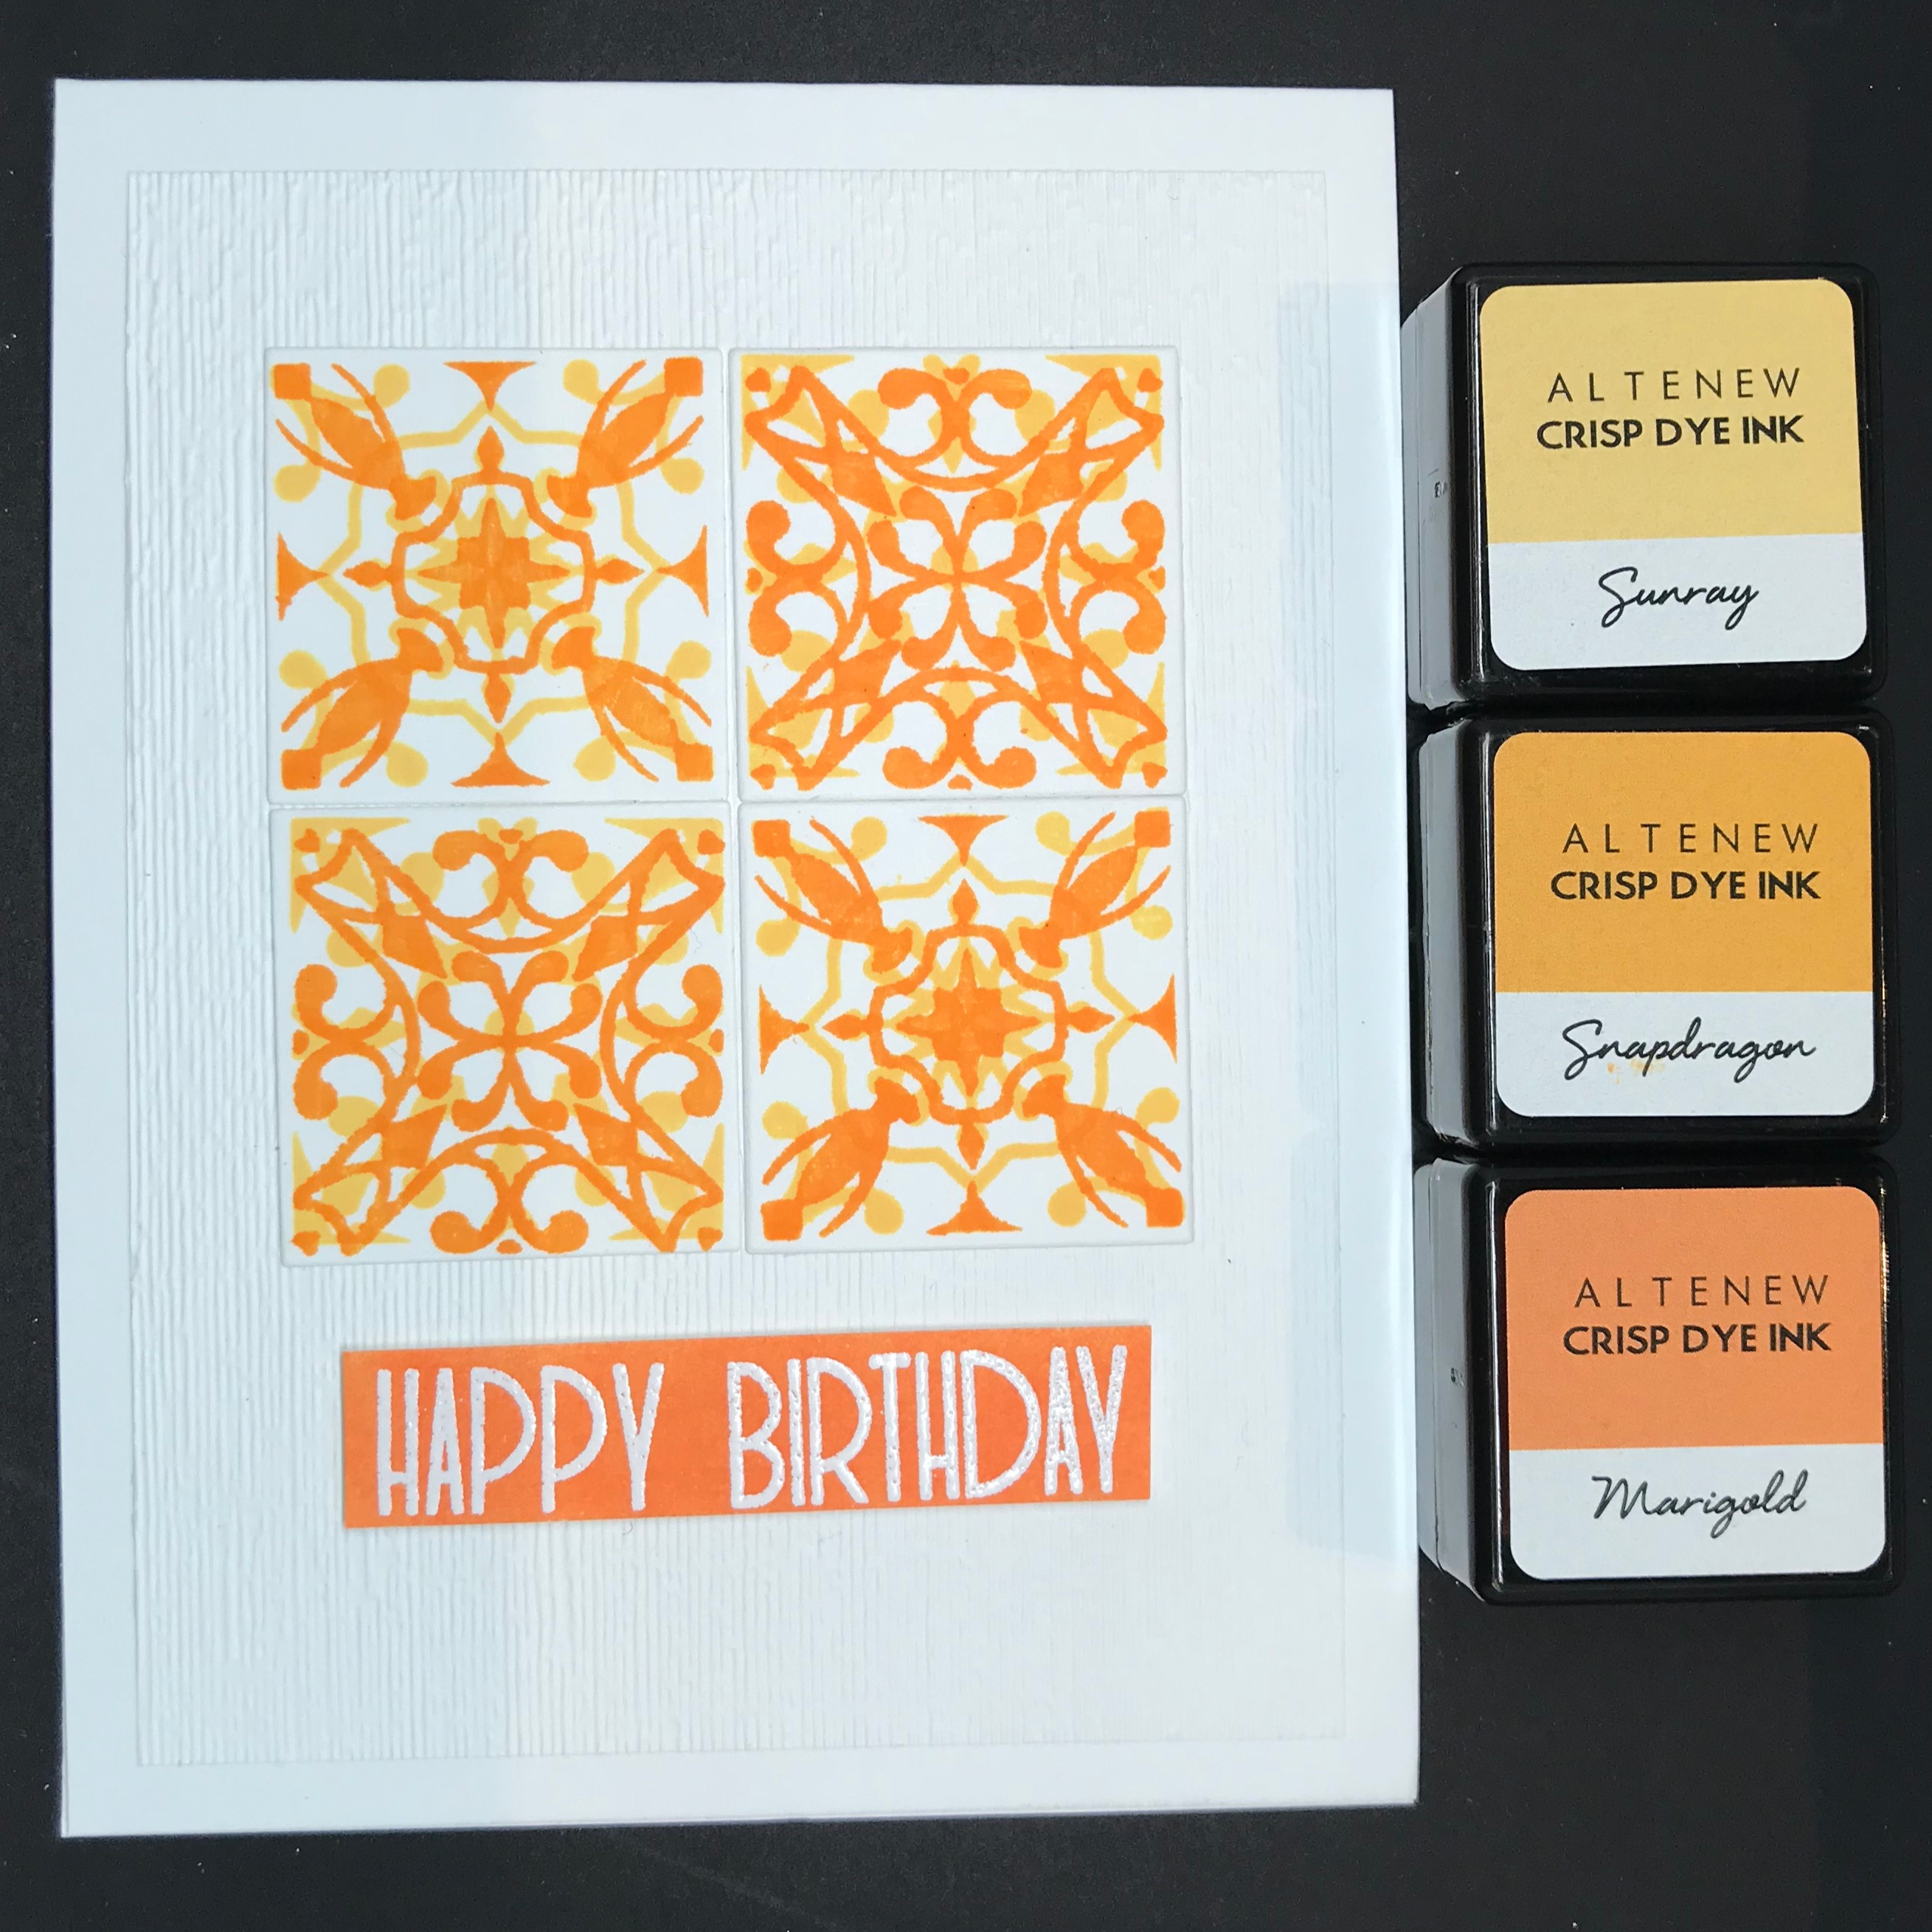
I used 4 different mini stamp sets from Altenew.
This made it easier to coordinate colours.
They are sold in groups of four ink cubes ranging from the lightest to the darkest inks in the same colour family.
5. Return the stamped card to the MISTI.
Align 3 different stamp tiles on top of the stamped images. Close lid of MISTI to stamp in the top colour.
Turn stamped card around 180 degrees and stamp again.
6. Repeat this process with three different top colours.
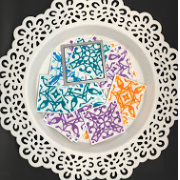
7. Die cut all the square tiles using a 1 1/2" square die.
Alternatively, cut by hand or use a square punch.
Place these to one side.
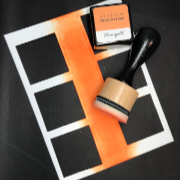
8. Ink blend strips of card in the darkest colour of each ink set.
To save paper I used the strip remaining on the white card from die cutting.
Repeat with all four colour families.
Allow the ink blending to dry.
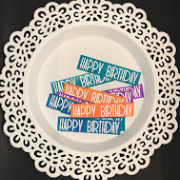
9. Stamp sentiment onto blended card with embossing ink.
Heat emboss with white embossing powder.
Alternatively, stamp the sentiment with white pigment ink.
Trim to size and place to one side.
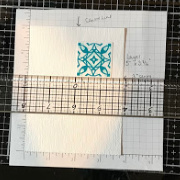
10. Use grid paper and a ruler to position the stamped tile onto the card layer.
Glue into place. Wet glue is easier as it allows for some wriggle room.
Once the first tile is positioned it is easier to match up the remaining tiles.
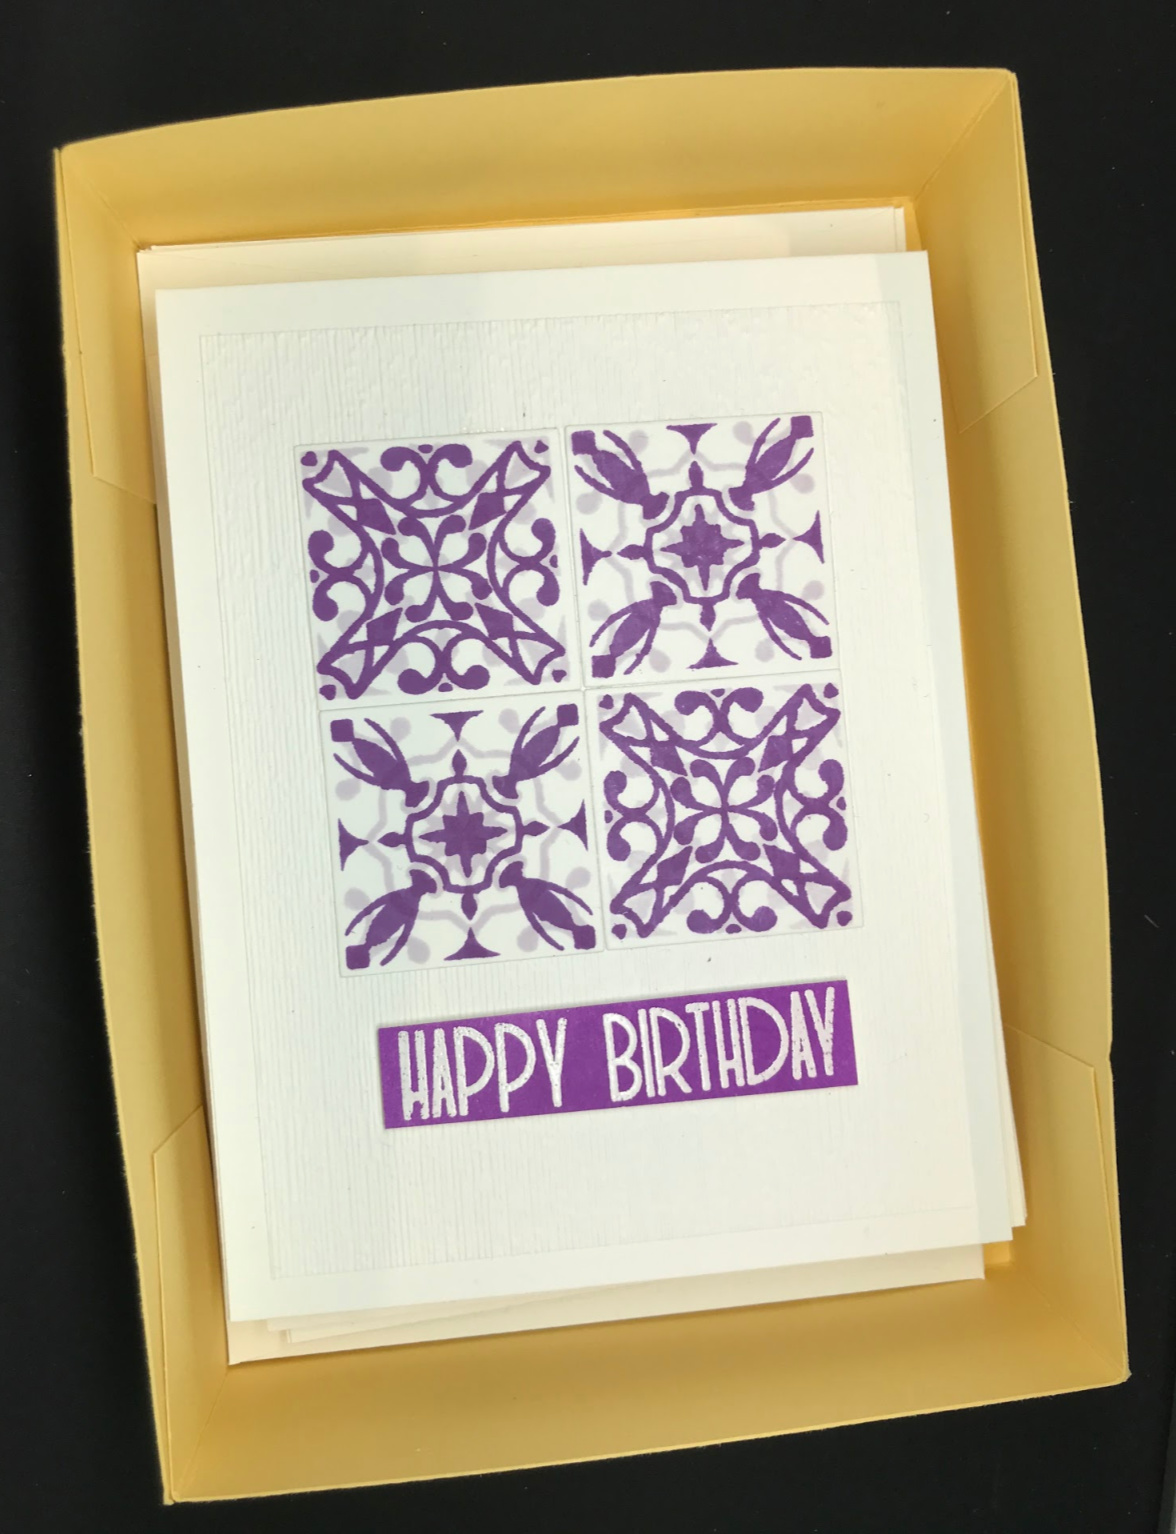
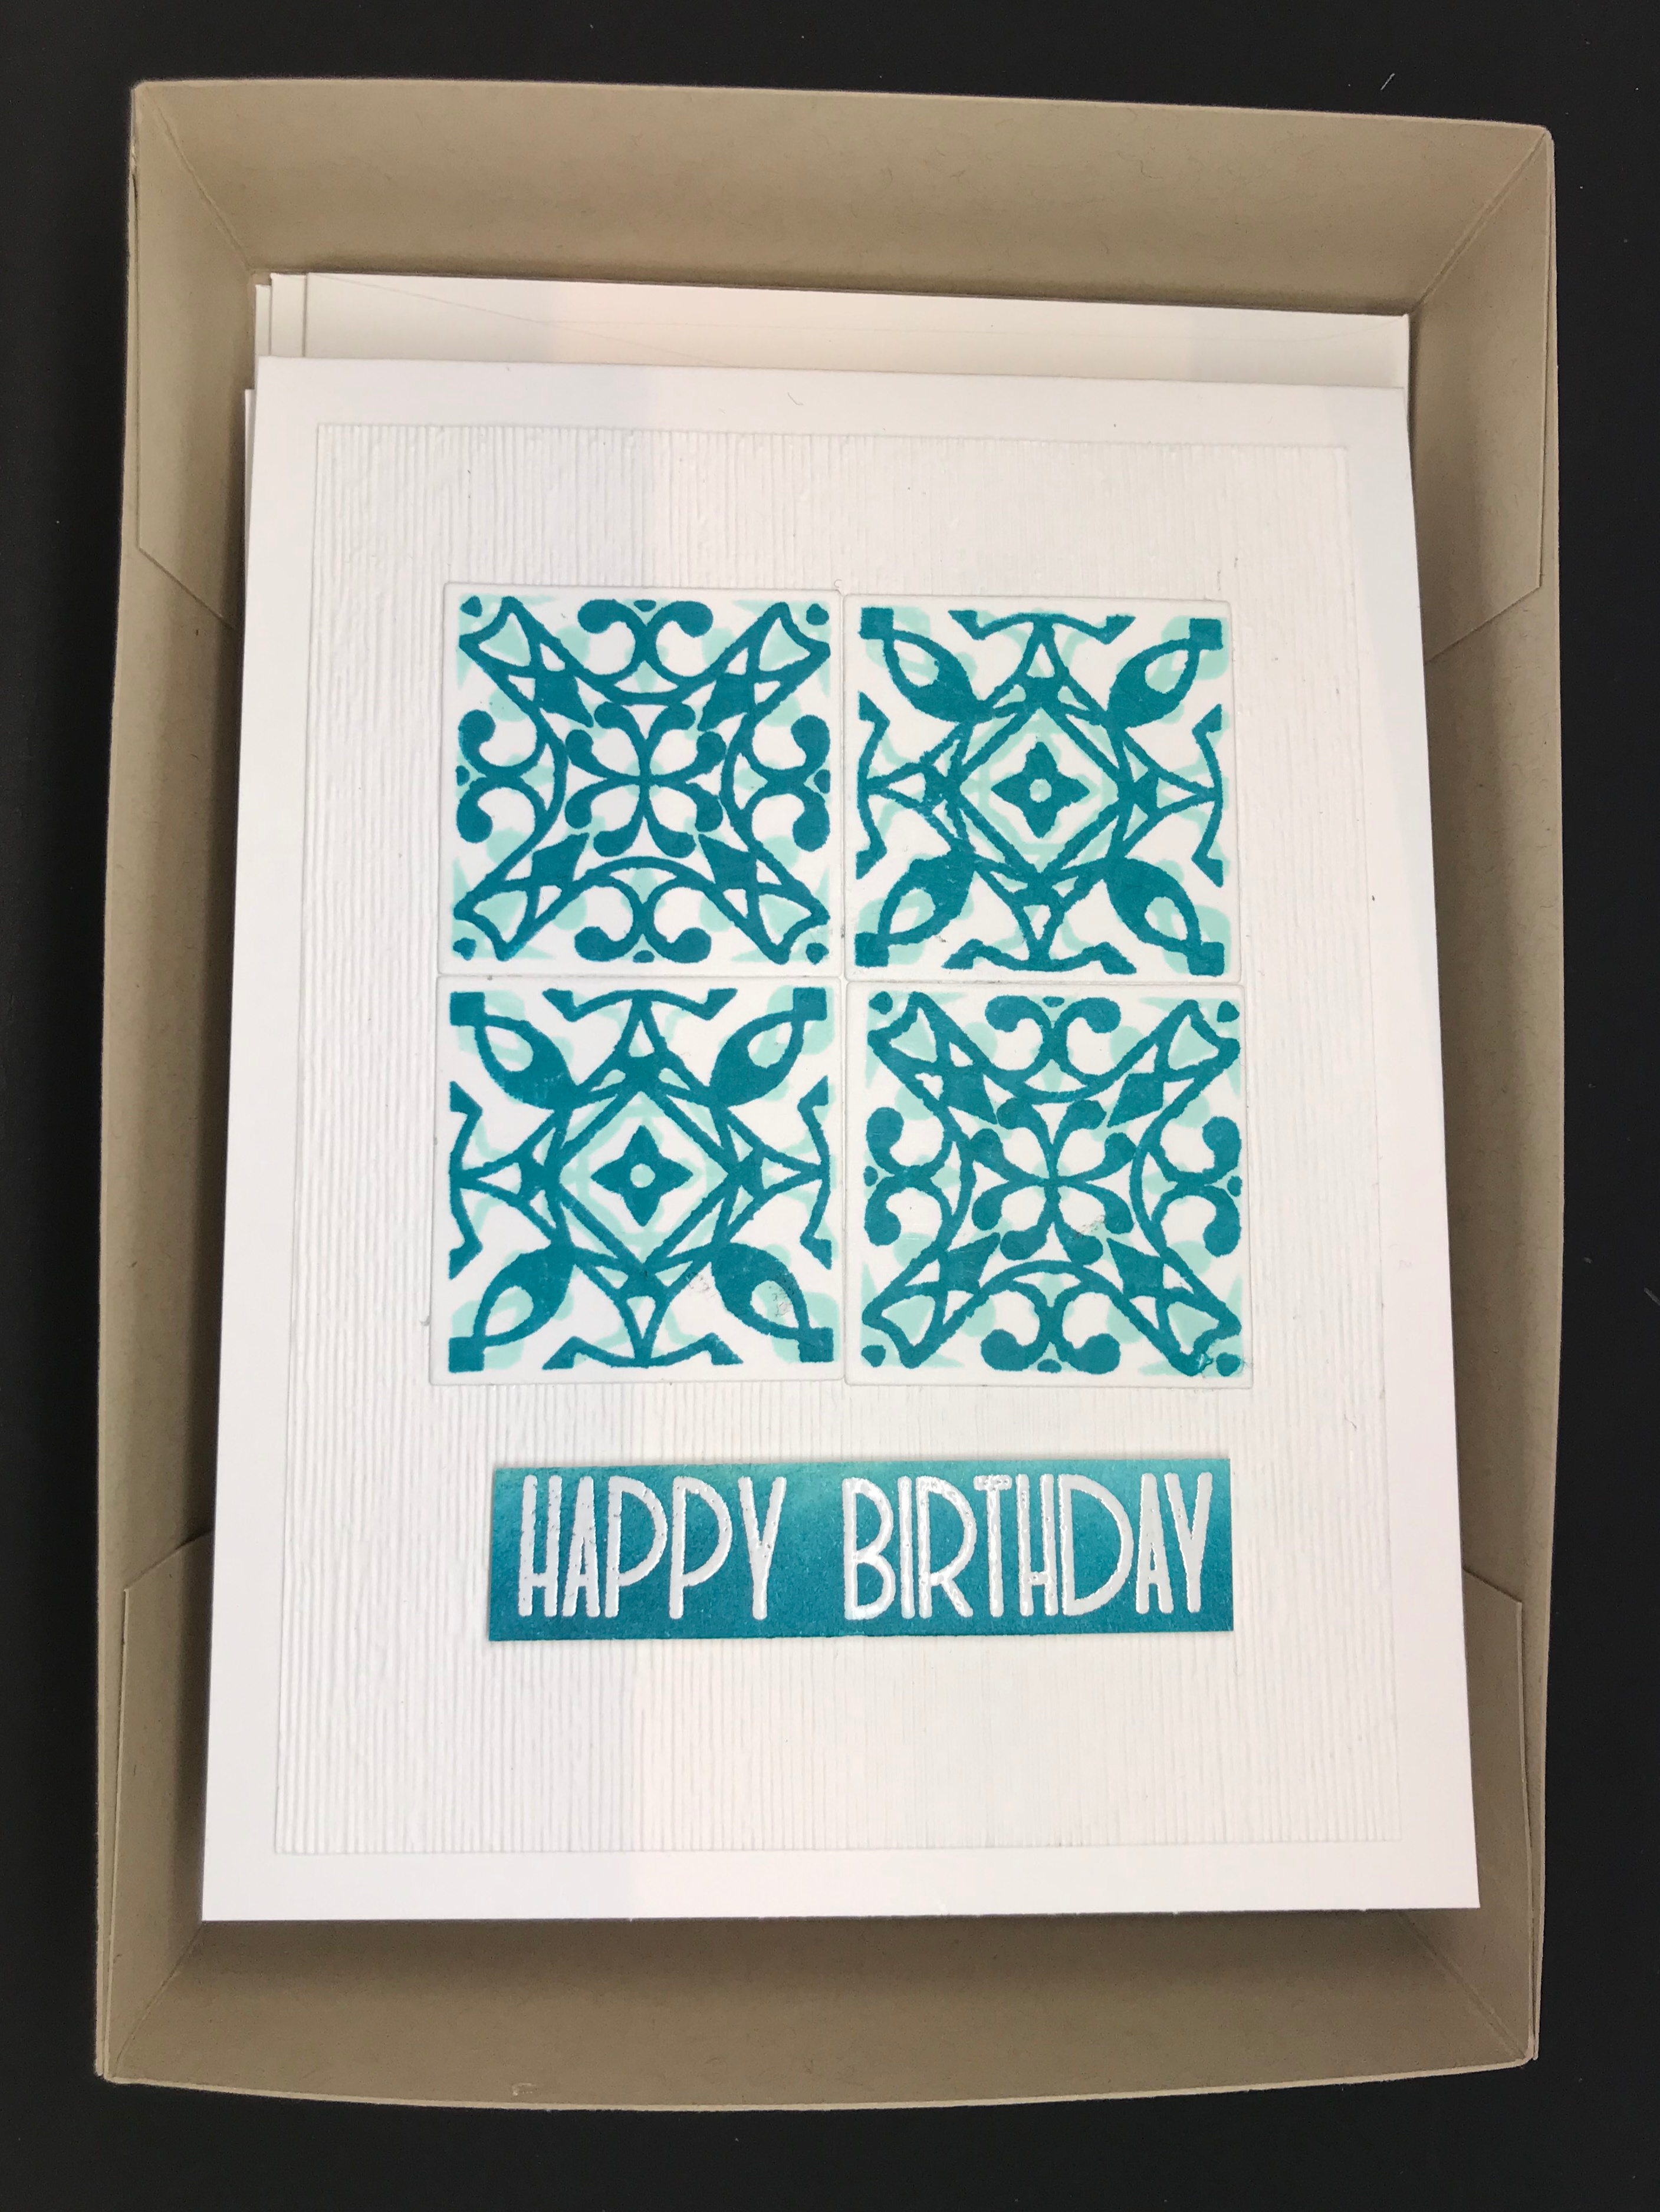
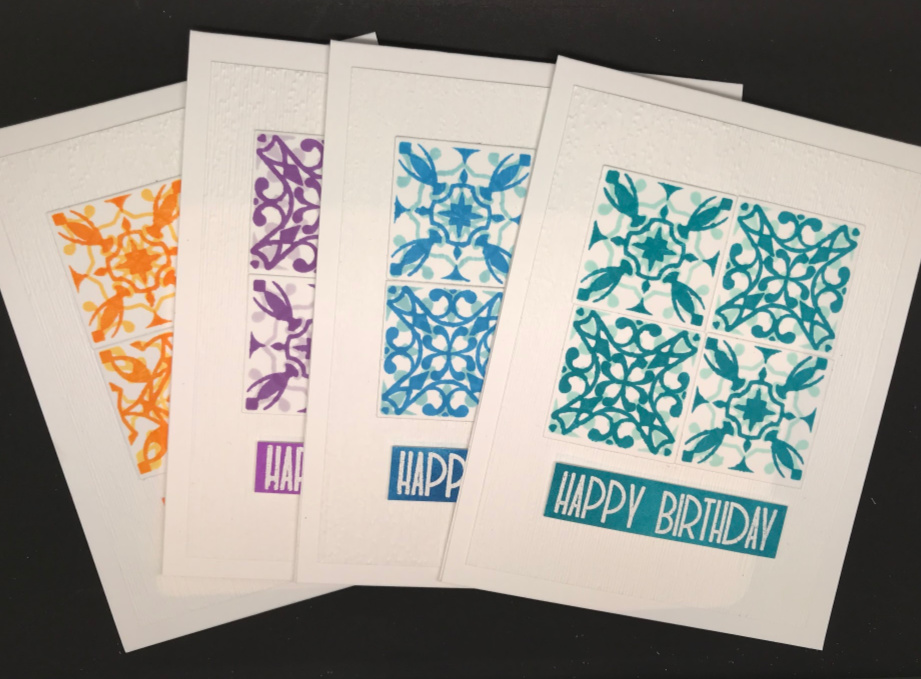
11. Add remaining tiles to create a square of tiles. Finally, add the sentiment on a foam strip underneath the tiled square.
Repeat this process with the remaining eleven cards. When completed there will be three cards in four different colours.
Here's a peek of the final cards with their ink colours:
Masculine Cards
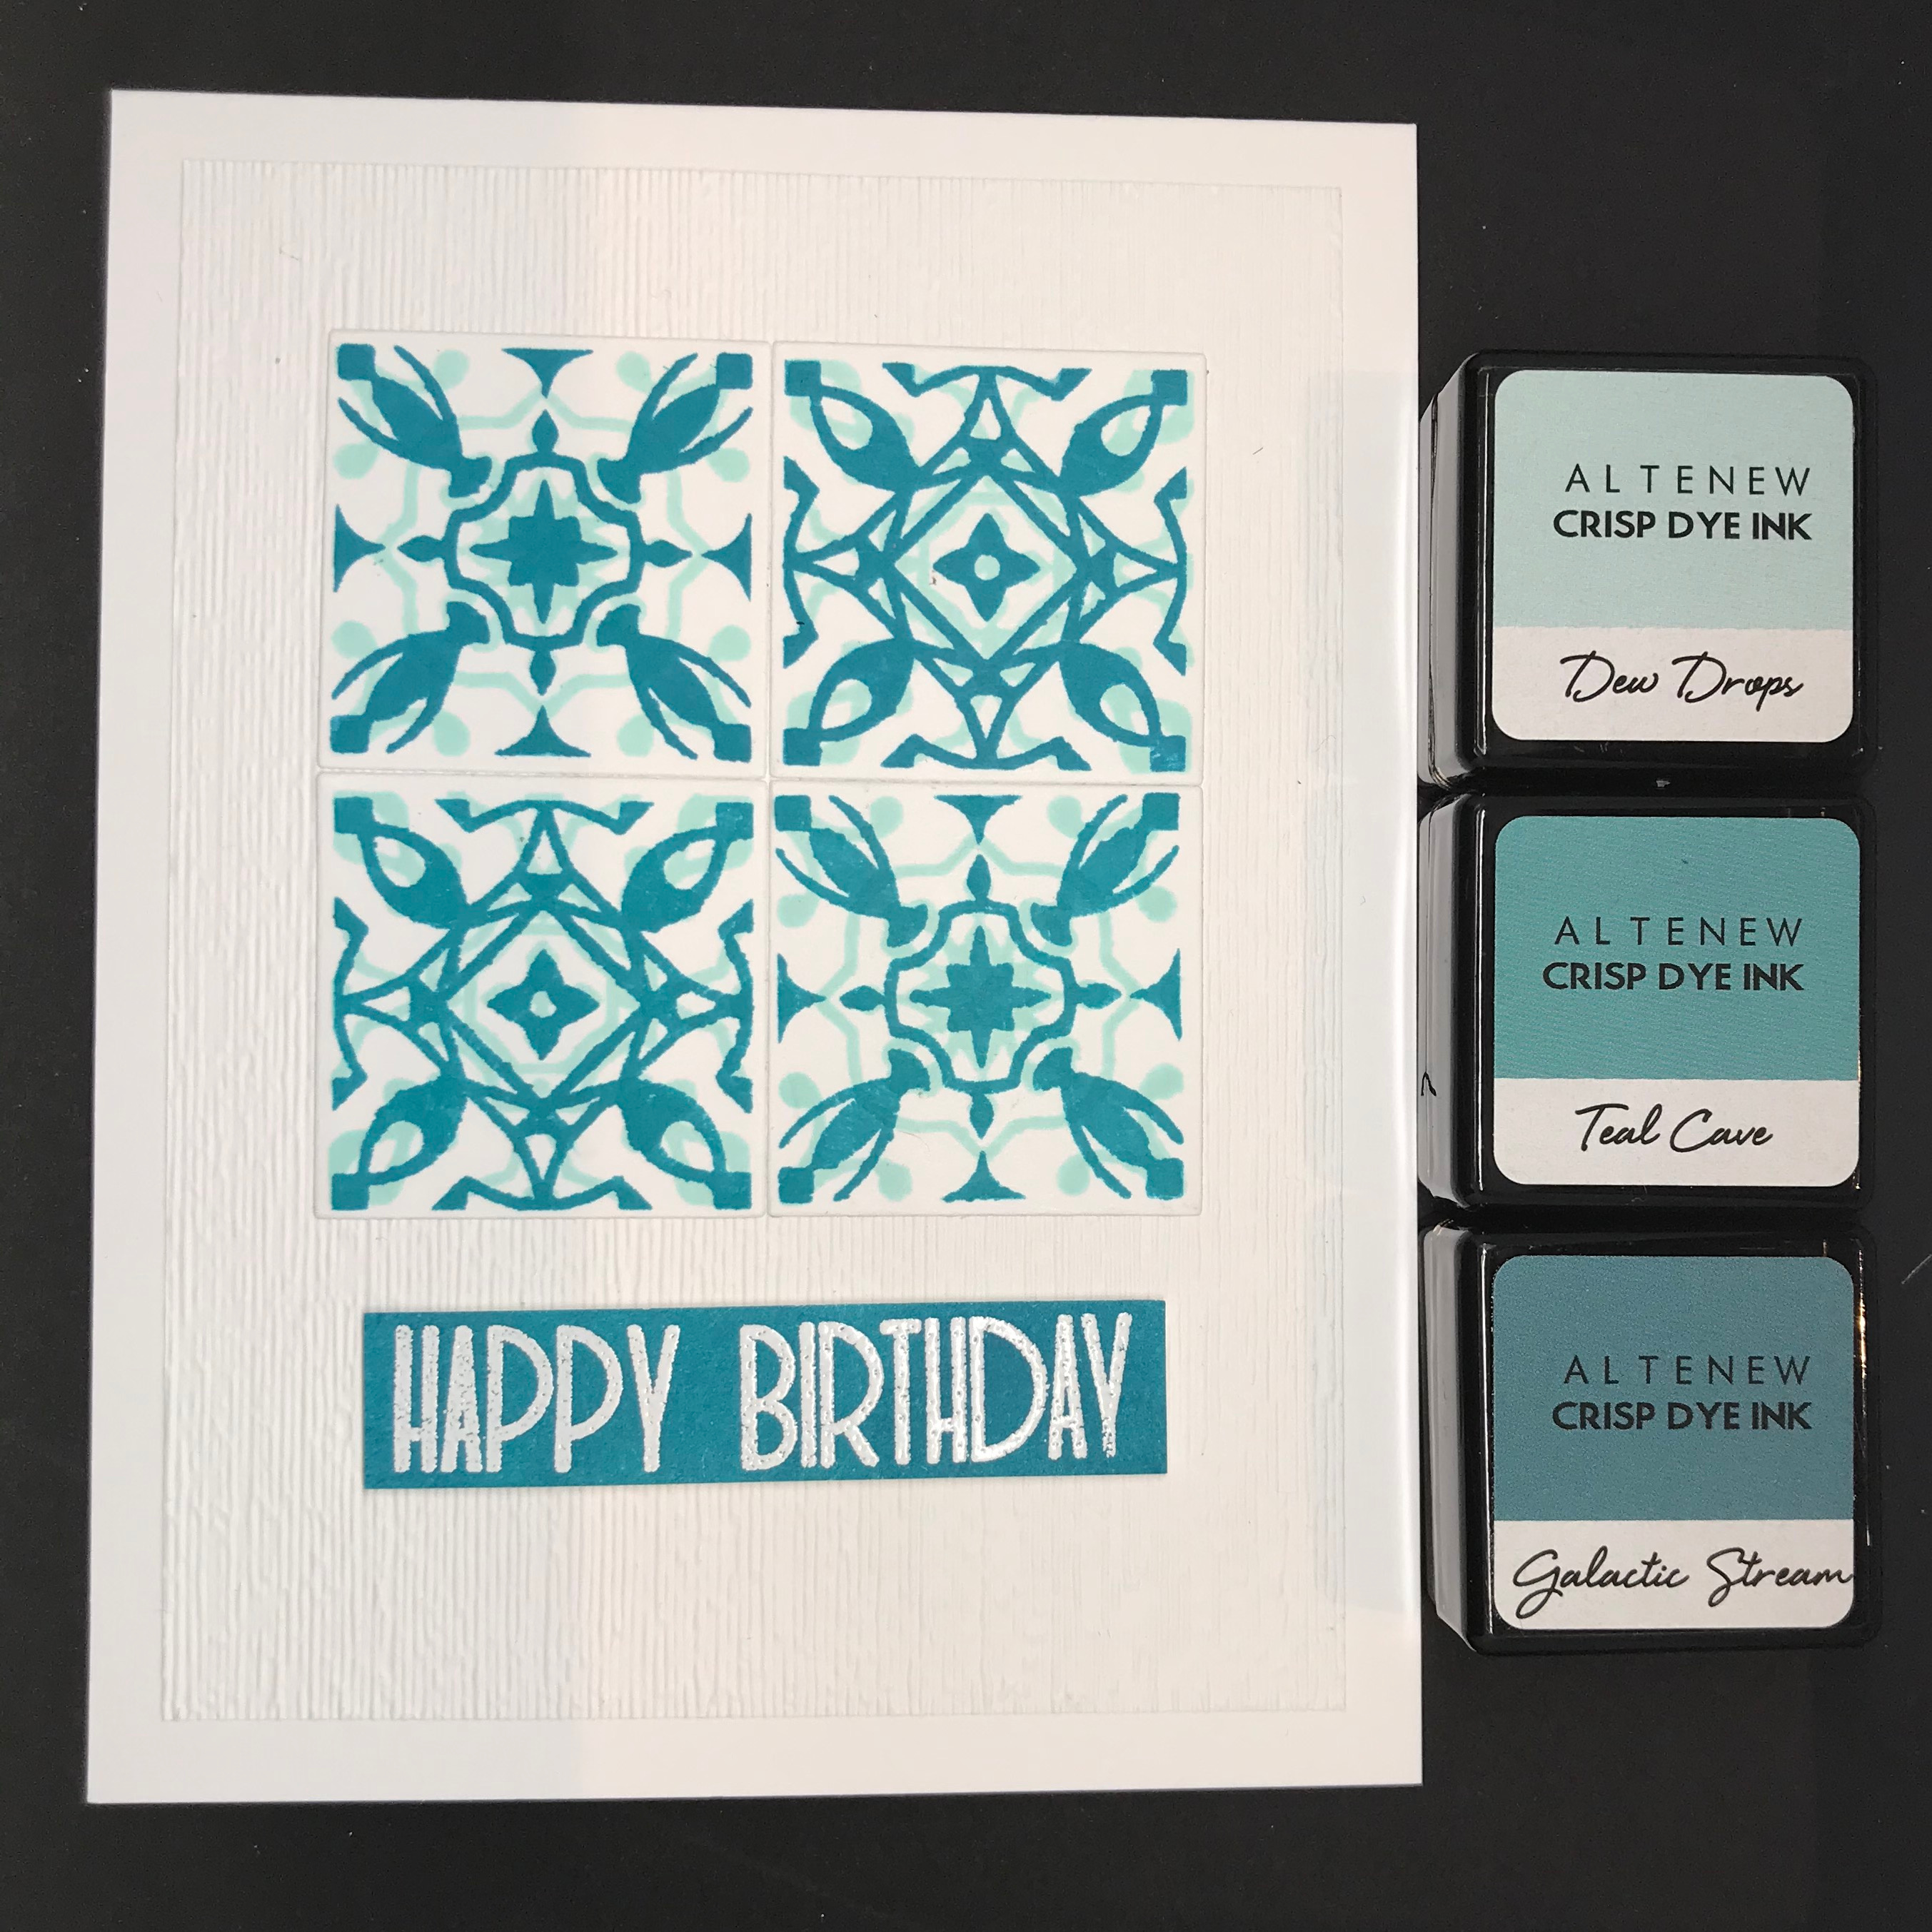
Feminine Cards
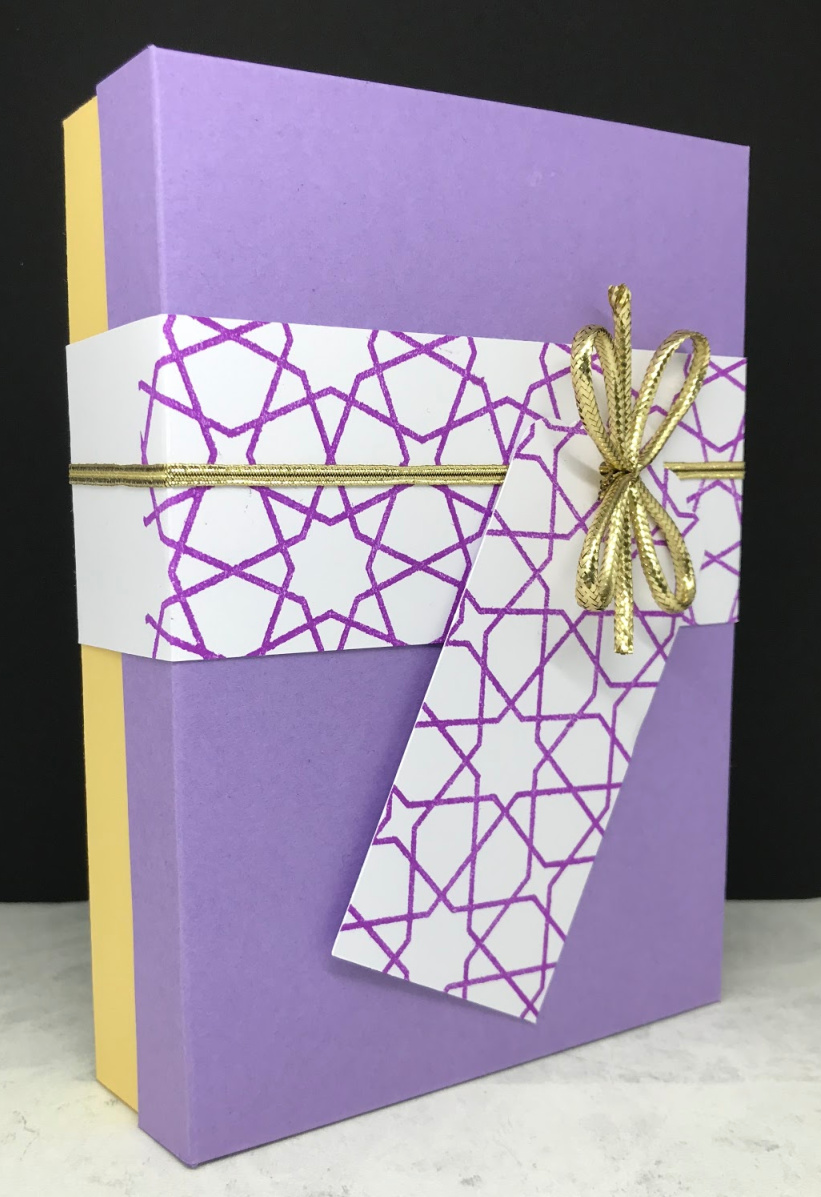
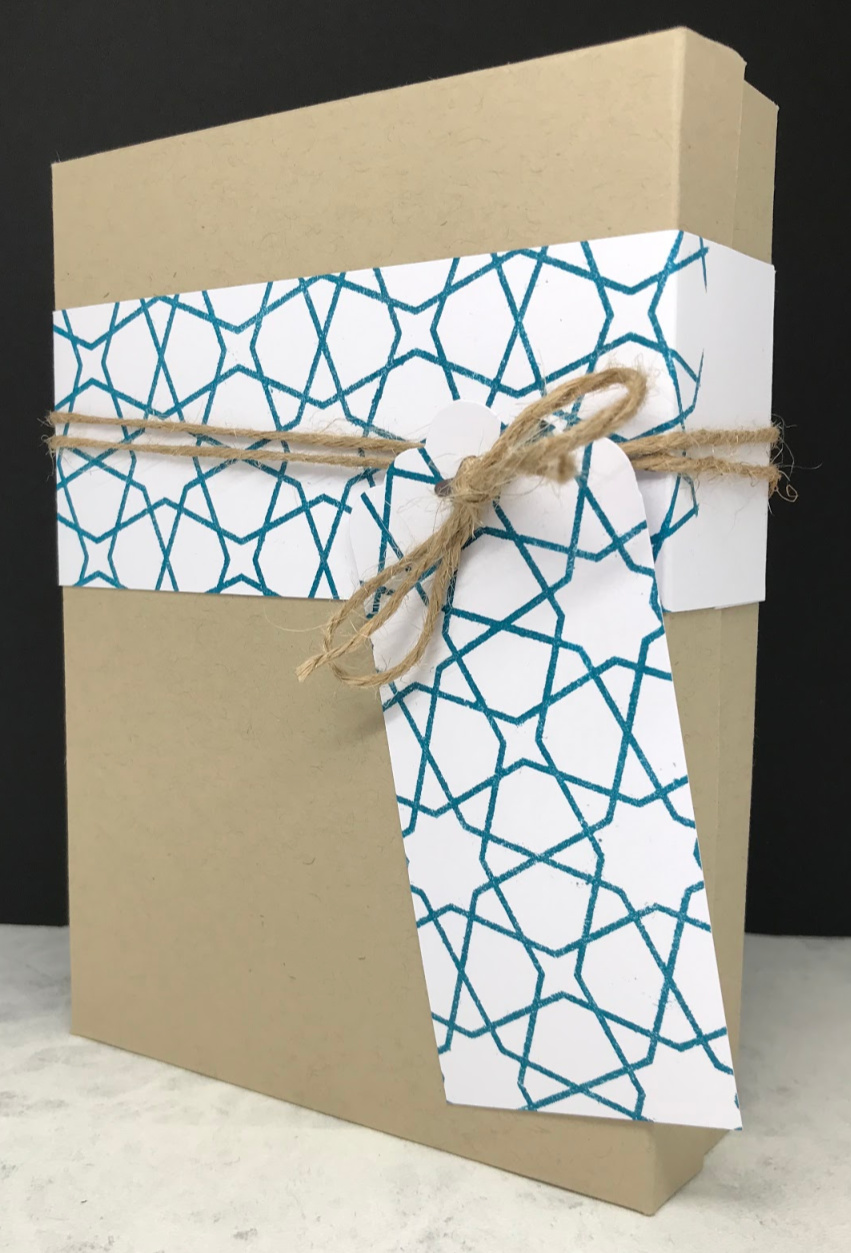
The Package
To package the cards I decided to make 2 boxes with a lids based the outline below (not to scale).
My box was made to accommodate 6 cards and 6 envelopes. My envelopes were slightly longer than required as they were UK standard envelopes not US size.
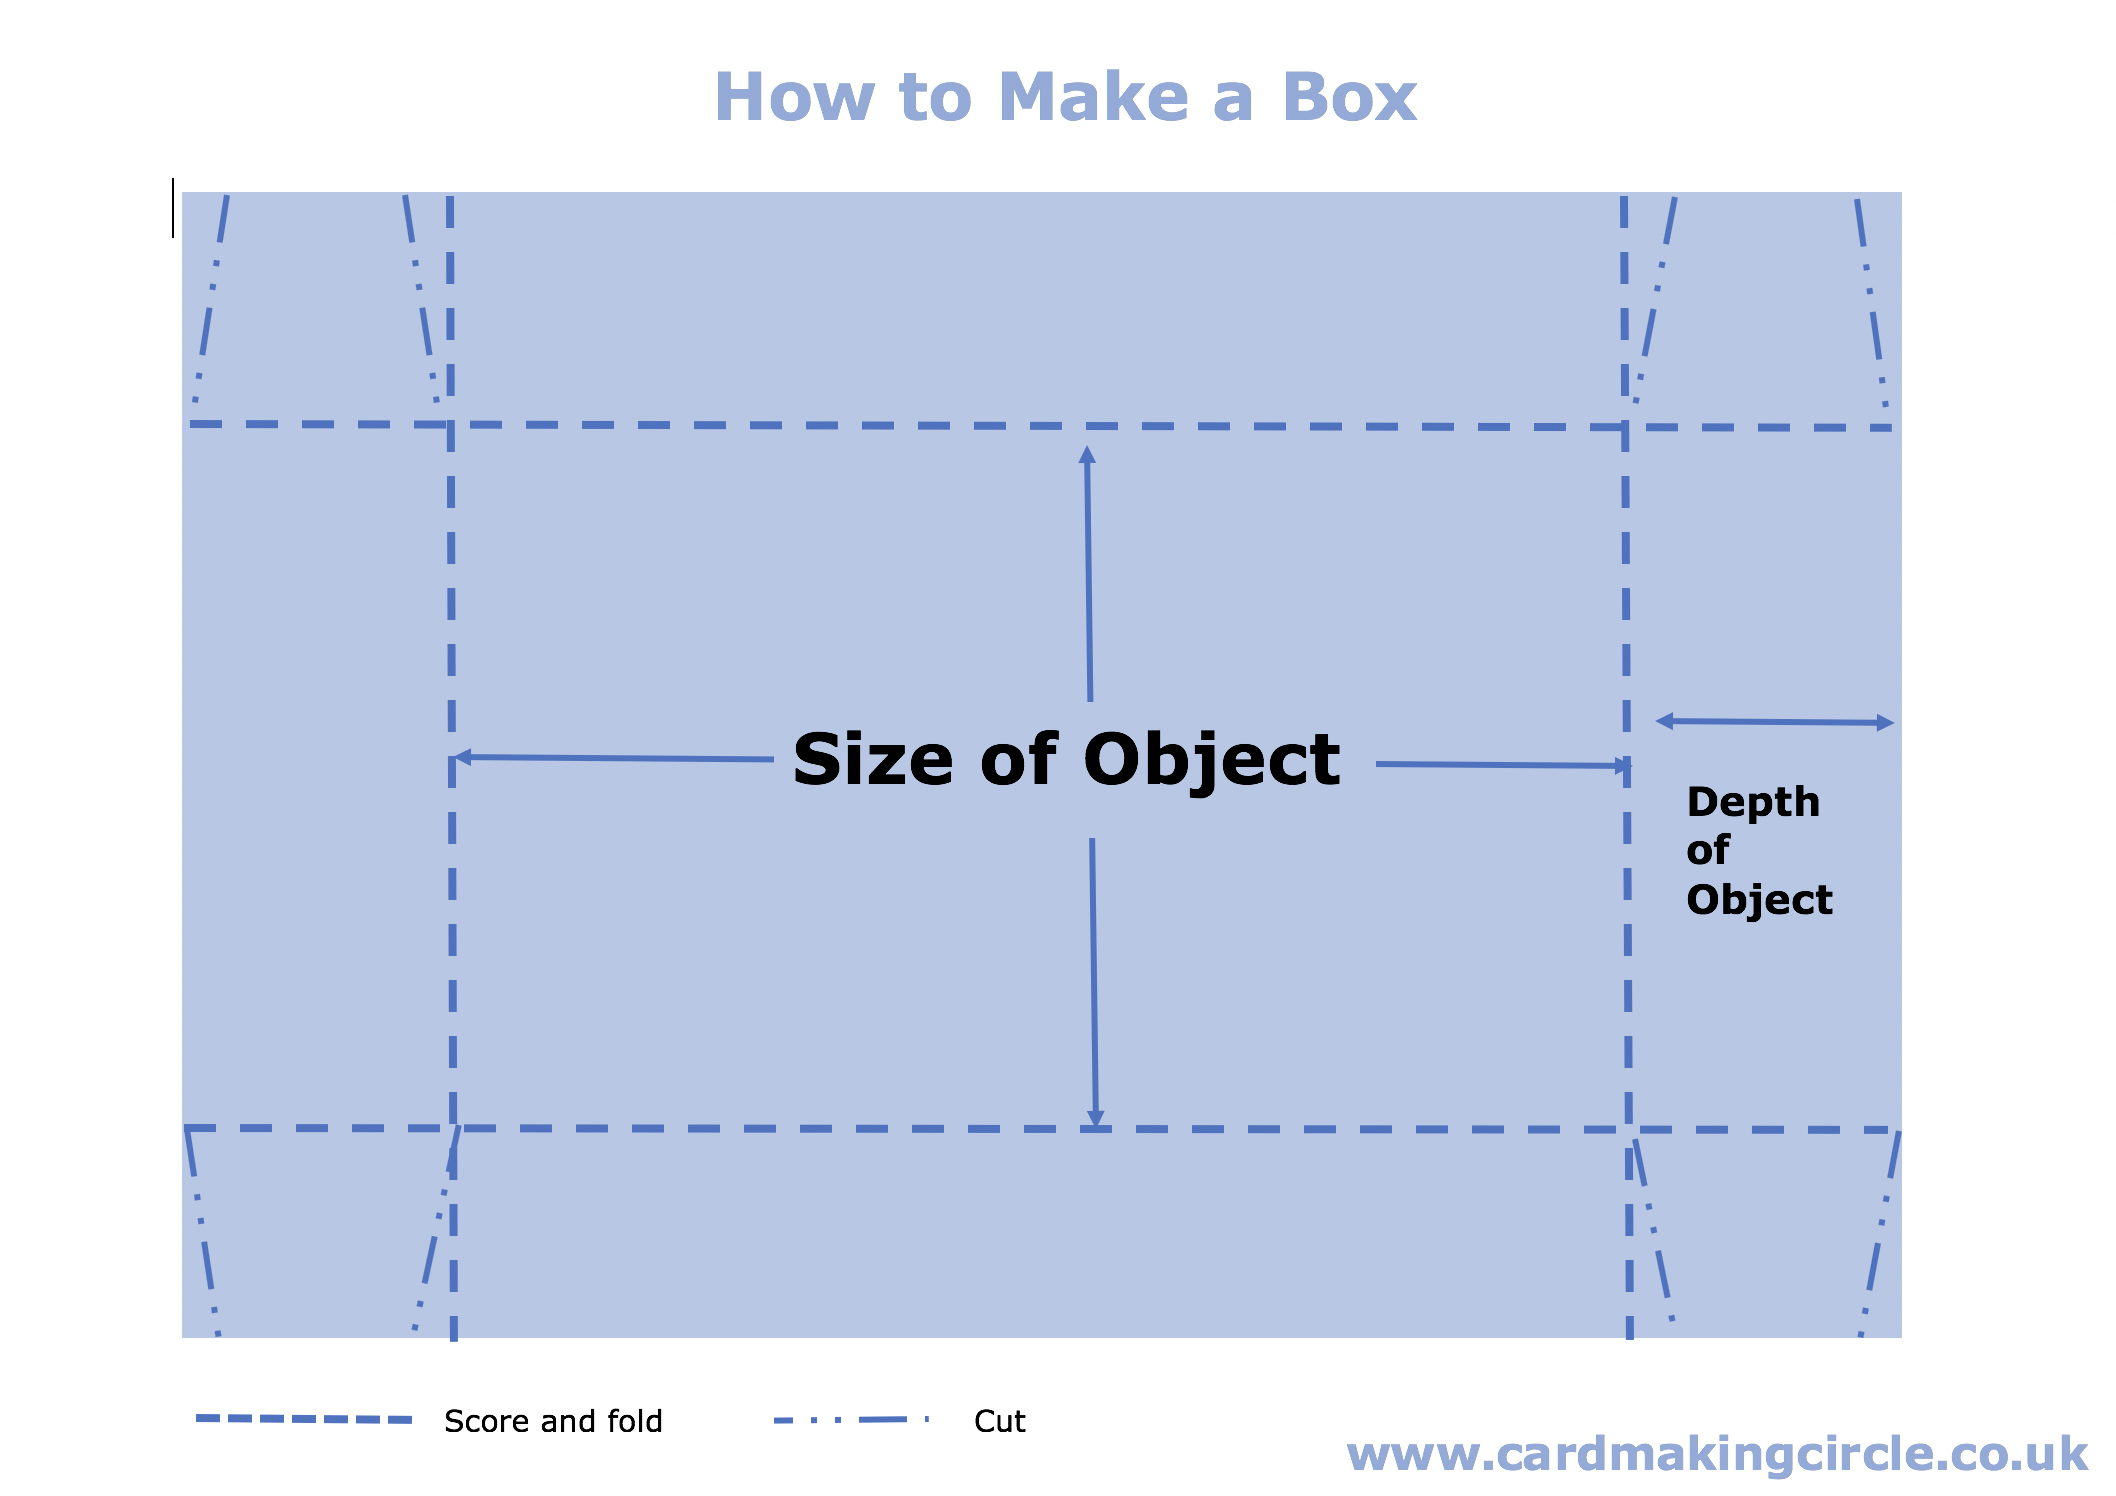
For the base I used card cut to 9 1/2" x 7 3/4" . This was scored using a score board at 1 1/2" on each of the four sides.
For the lid I used card cut to 8 1/16" x 6 5/16" . This was scored at 3/4" on all four sides.
(Measurements and box video tutorial courtesy of Poottles.co.uk)
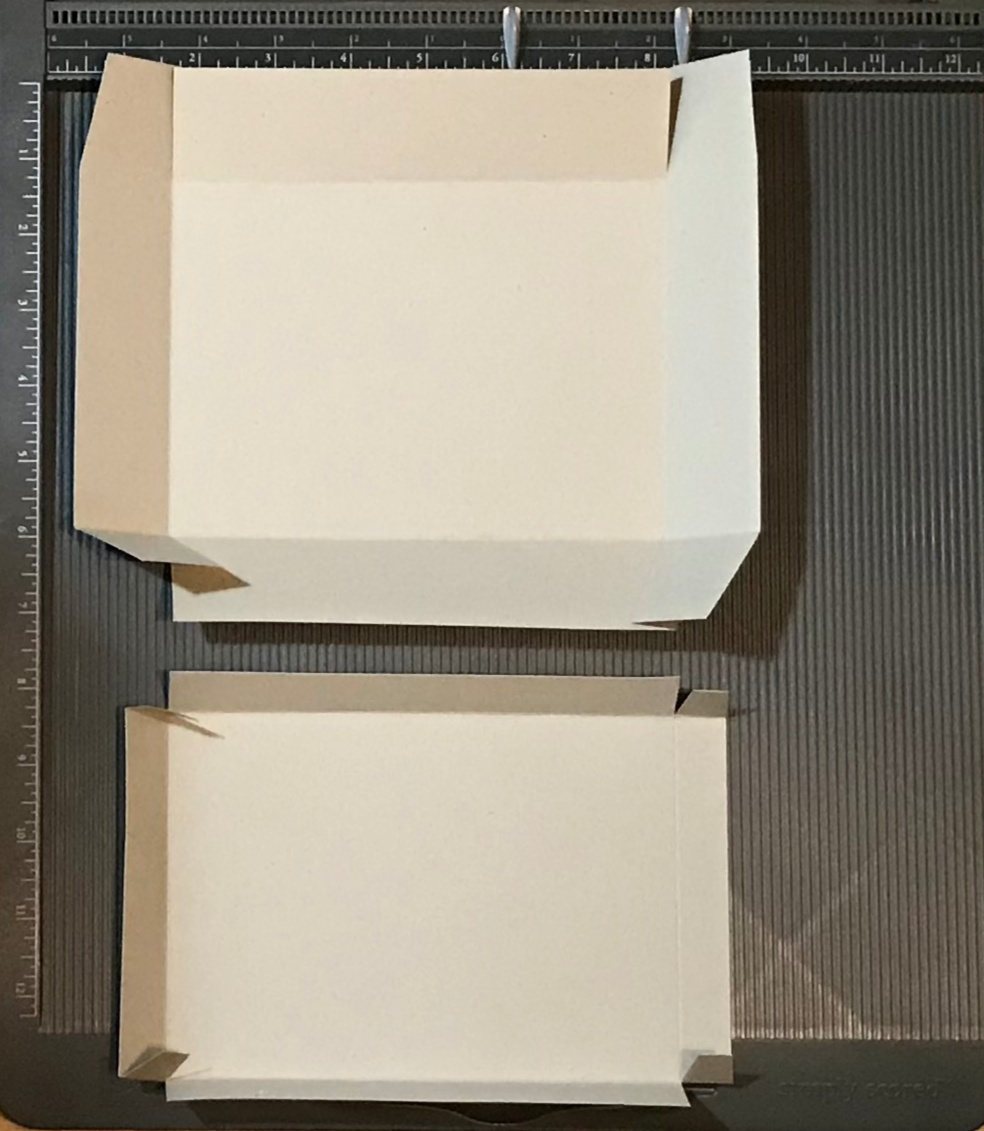
Small diagonal lines were cut on a chamfer to make folding the box easier and to stop the corners being damaged.
Use the flaps to glue the box into shape.
The lid was constructed in the same way with less depth.
A belly band and tag for each box completed the construction. They were held together with twine for the masculine box and an elastic bow (rescued from a chocolate box - my recycled item) for my feminine box.
Supplies
Stamp sets:
Dare to Dream - Altenew
Moroccan Mosaic - Altenew
Birthday Builder - Altenew
Inks:
Shades of Purple mini cubes - Altenew
Golden Sunset mini cubes - Altenew
Deep Blue Seas mini cubes - Altenew
Sweet Dreams mini cubes - Altenew
Versmark Watermark stamp pad
Card Stock:
Neenah Solar white 80#
Neenah Solar white 110#
Coloured card - from stash
Accessories:
Sizzix Big shot die cutting machine
Paper trimmer
Mini MISTI stamping tool
Scoring board
Ruler
Heat tool
White embossing powder
1 1/2" square die


FREE!
Card Making
Resources
in my

And
SIGN UP TODAY!
for more exclusive content